How to Draw Garlic Step by Step Tutorial
This tutorial shows how to draw realistic looking garlic step by step. Each step includes detailed pencil drawing examples going from a line sketch to a pencil shaded drawing.
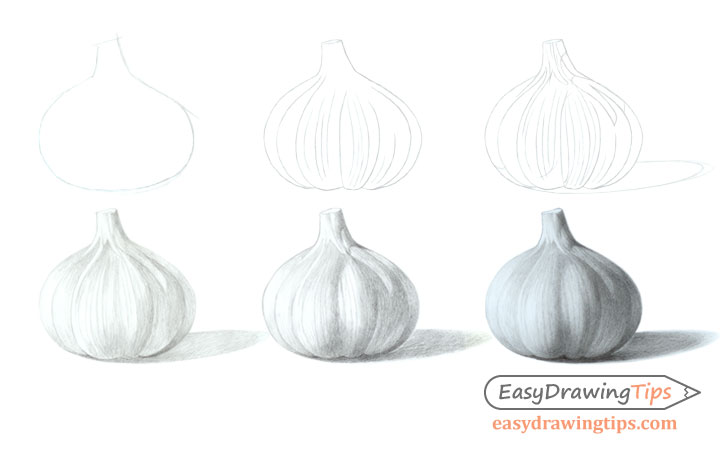
This is a fairly simple line drawing and shading tutorial that can be good for fairly new and intermediate artists. What makes it slightly different from some of the others here on EasyDrawingTips is that that most of the shading will be done with curved one directional strokes.
Step 1 – Basic Outline Drawing
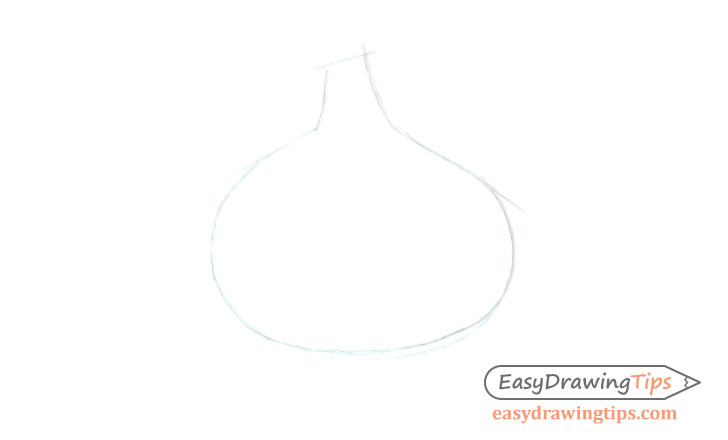
Start by drawing a rough outline shape of the garlic. Usually it will be similar to a flattened upside down light bulb.
Be sure to draw very light lines for this and other line drawing step of the tutorial. While they may be a little harder to see it will also make them much easier to erase. Light lines will also blend better with the shading that will be applied in later steps.
Step 2 – Draw the Individual Cloves
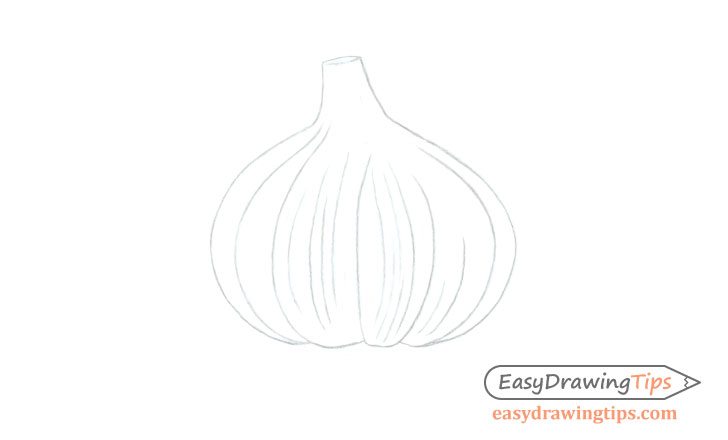
Inside the previous outline drawing add the individual shapes of the garlic cloves. Erase parts of the outline drawing where needed (bottom for example).
Next you can also add some lines for the more pronounced inner curves in each of the cloves.
You should have a fairly simple finished line drawing of the garlic once done.
Step 3 – Determine the Light Source & Outline the Shadows
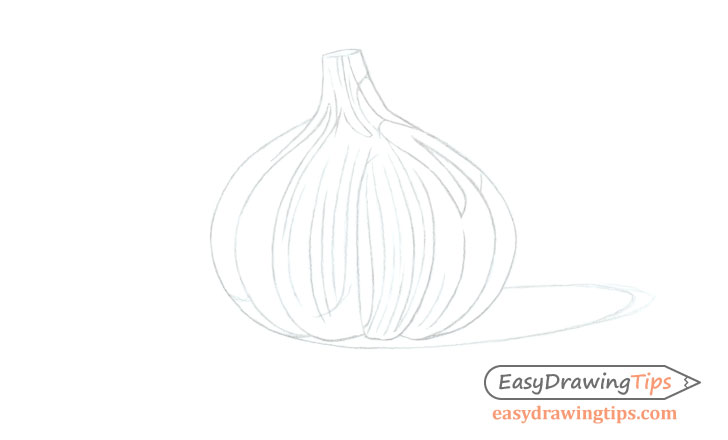
In this case the light will be coming from the left side and just slightly above the garlic.
To make shading a little easier you can outlines the darkest shaded as well as the drop shadow. As the light is coming from the upper left most of these areas will be along the bottom and right side of the garlic.
Step 4 – Basic Shading
Once you finish the line drawing portion of the tutorial you can begin applying some basic shading to your drawing.
As mentioned earlier for this tutorial we will mostly be using curved “one directional” strokes as this shading technique is well suited for showing the texture of the garlic.
You can see an explanation of each stroke type here:
Shading Techniques and Stroke Types Drawing Tutorial
Apply the shading by making a series of strokes that flow along the the shape of the garlic. Make darker strokes for the shaded areas but do not press on the pencil too hard. You can intensify the shadows later. For this step you want to get the overall distribution of light and shadows across the surface.
The one place where you can use crosshatch shading is the shadow. Though these will later be blended to the point where they are barely visible.
Another thing to keep in mind when shading the drop shadow is that that it will be darker towards the base of the garlic and will gradually get lighter as it moves away from it.
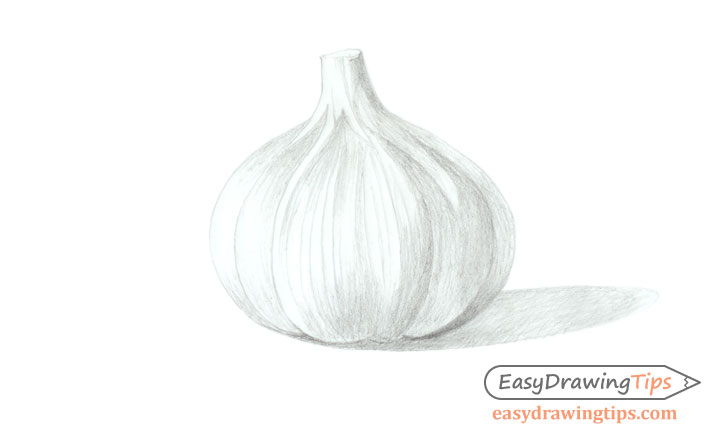
Step 5 – Refined Shading
Once you have filled the entire surface with some basic shading you can begin intensifying the shadows and smoothing out the gradients. Be sure to still keep applying strokes that flow along the shape of the garlic.
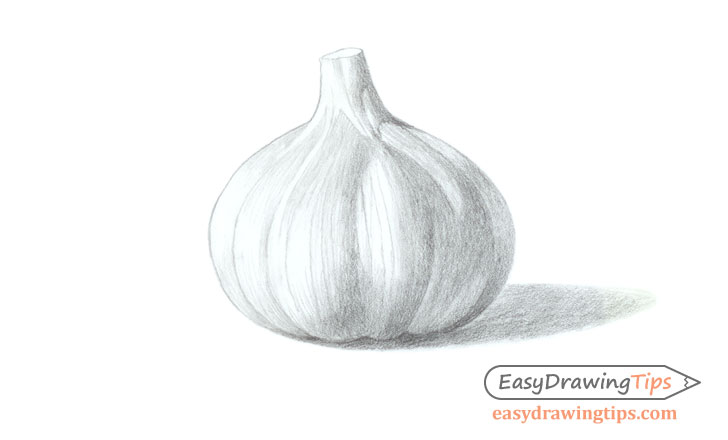
Step 6 – Finished Drawing

To finish the drawing fully darken the shaded areas and further smooth out the gradients of both the garlic and the drop shadow. Be careful to still leave the individual strokes somewhat visible as there are what will give the garlic that realistic looking texture.
Conclusion
While this is a fairly simple tutorial it can still be a bit of a challenge if you are a beginner. If you find yourself struggling and would like to try something even simpler see:
For tutorials similar to this one see:
- How to Draw a Realistic Pumpkin Step by Step Tutorial
- How to Draw a Potato Step by Step Tutorial
- How to Draw a Kiwi Step by Step


