Shading Techniques and Stroke Types Drawing Tutorial
This tutorial explains several different ways to apply strokes when shading. It can be useful for drawing with pencils, markers, pens, and other mediums, including digital drawing.
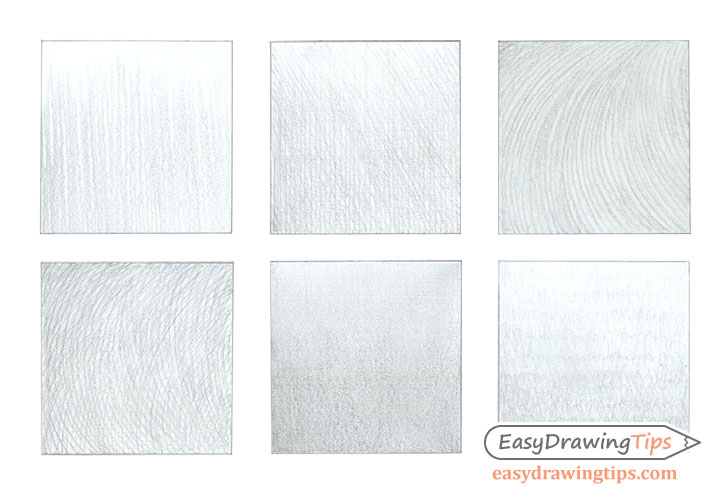
For a practical and very basic application of some of the strokes in these examples you can see:
- How to Draw a Cake Slice in 10 Steps
- How to Draw a Plum Step by Step
- Egg Step by Step Basic Shading Tutorial
One-Directional Strokes
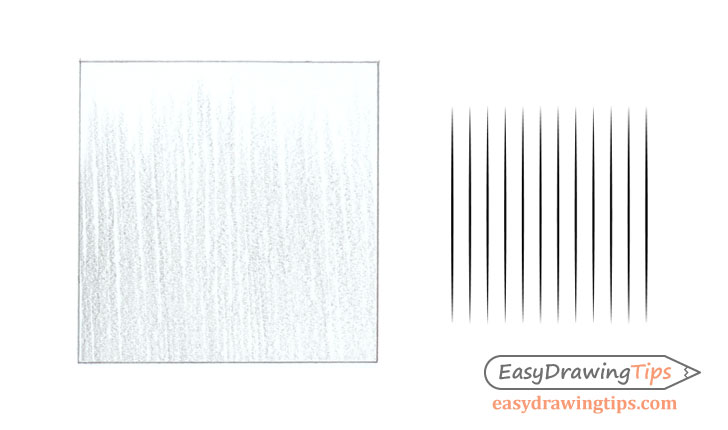
Straight one-directional strokes are the most basic shading technique. When making these, try and keep them some distance apart so that the individual lines stay visible.
Crosshatch Shading
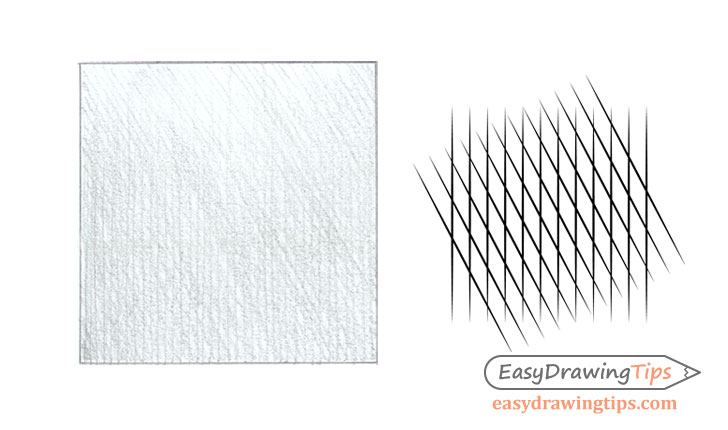
Crosshatching is a shading technique where strokes are applied in two directions to create an overlapping pattern. It is probably the most commonly used shading style in art.
Curved Stroke Shading
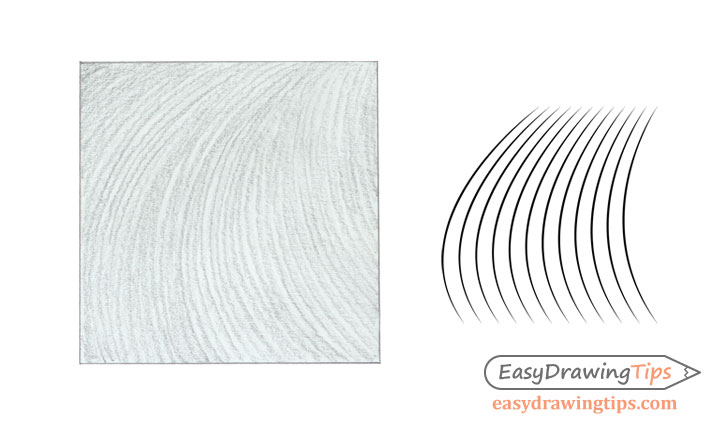
Curved shading strokes are useful for shading rounded objects where you want to emphasize the curvature of their shapes.
Crosshatch Curved Stroke Shading
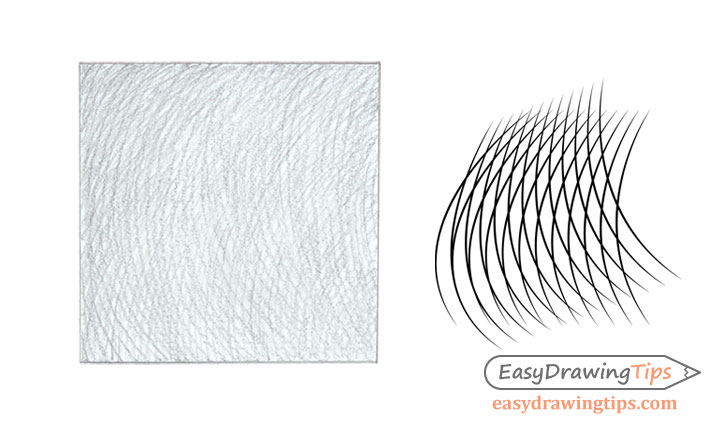
Similar to the non-overlapping curved strokes, a curved crosshatch technique can be used for shading drawings of rounded objects. The advantage of curved crosshatch strokes is that they tend to look more natural.
Smooth Shading
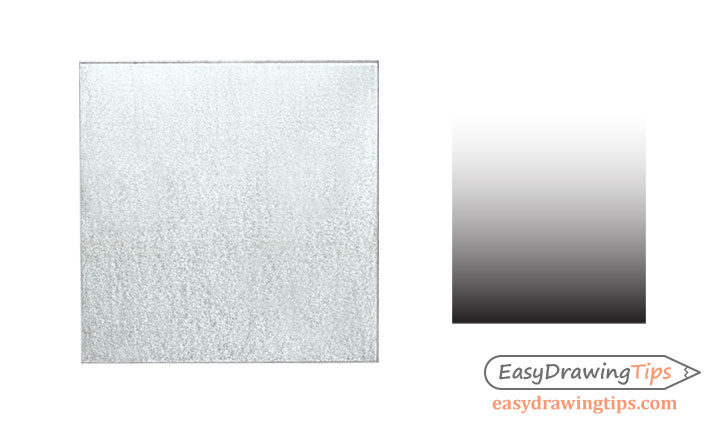
Smooth or blended pencil shading can be useful in cases where you do not want there to be visible strokes.
Circular Stroke Shading
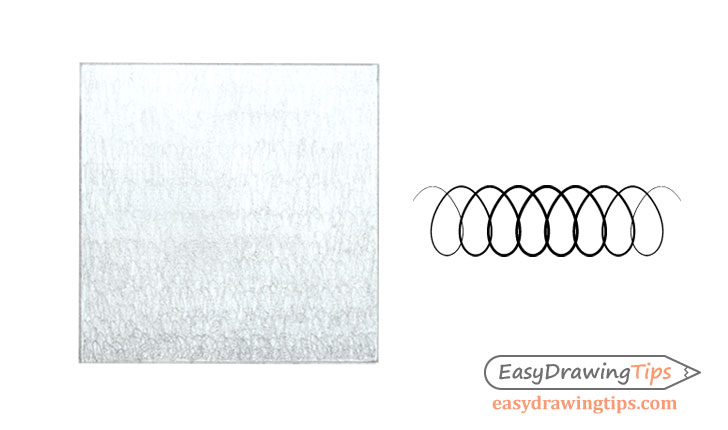
Circular stroke shading is less common, but can still be very useful for certain effects (smoke for example).
Conclusion
This tutorial goes over some of the more common stroke types and shading techniques, but you can always experiment with more if you feel it’s appropriate for what you are drawing.
For more applications for these strokes, see:
- Drawing & Shading Basic 3d Shapes Tutorial
- How to Draw a Realistic Hawk’s Head Step by Step
- How to Draw a Tiger Face & Head Step by Step