How to Draw a Feather Step by Step
This tutorial shows how to draw feather in six steps by starting out with a simple sketch and gradually adding more details.
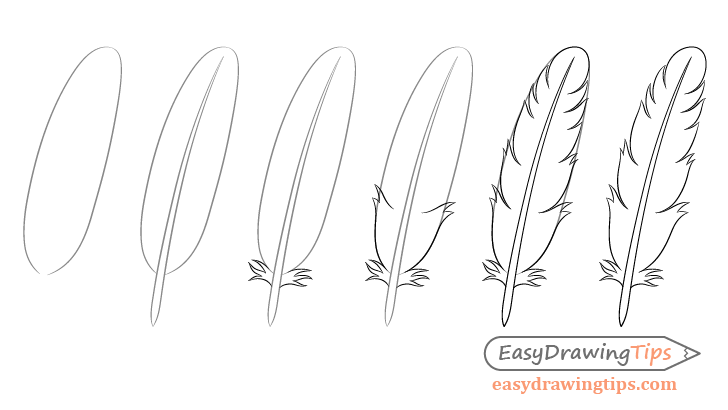
The feather in this example is not particularly complex but it does have a good amount splits and curves. This can make it a little confusing as to which of it’s parts you should start the drawing with. To make process easier to manage this tutorial shows an approach of first creating a simplified outline of the object and then using that as a guide for adding the smaller details.
Unless drawing digitally start the tutorial in pencil. Also try and make fairly light lines until you have all parts of the feather outlined. You can then trace over your drawing to darken them.
For drawing a birds see:
How to Draw Bird Step by Step – Side View
Step 1 – Outline the Shape of the Feather
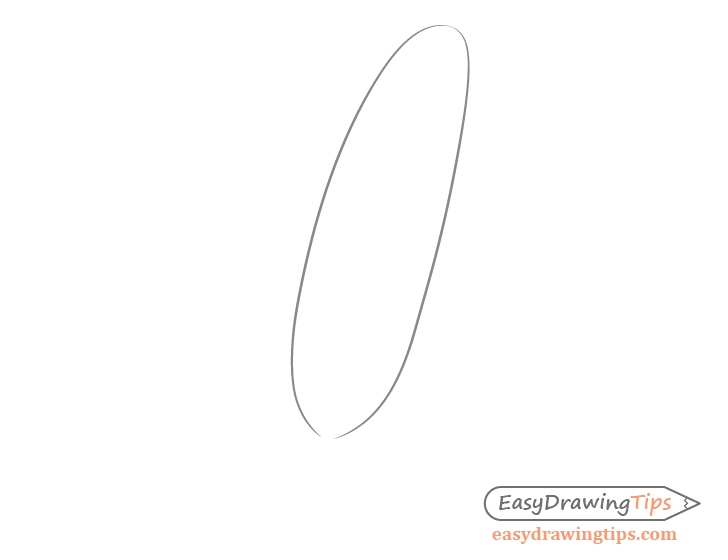
Begin with a basic outline of the feather (without the shaft). At this stage of the drawing the goal is to get it’s overall shape without any of the smaller details. This will act as a guide for adding everything else.
Be sure to make this outline particularly light as most of it will need to be erased later on. The lines in the example have been made darker just so that they are easier for you to see but you should make your lines just barely visible.
Step 2 – Draw the Shaft
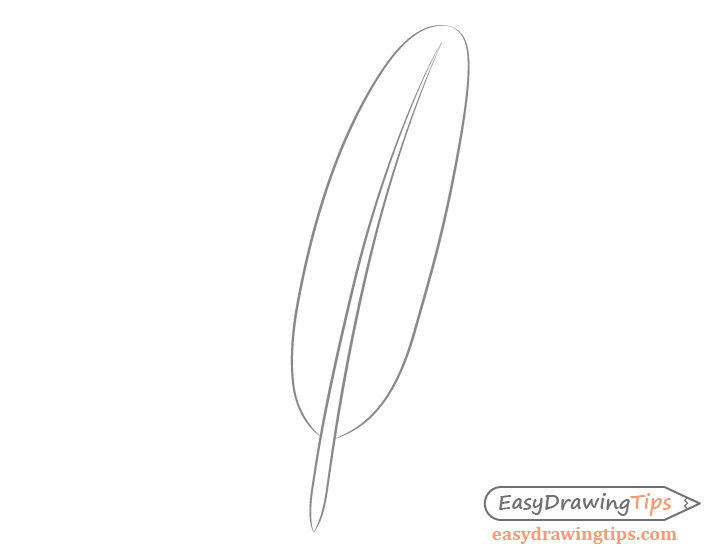
Through the middle of the outline made in the previous step add the shaft. Make this wider at the bottom (with a pointy tip on the very end) and narrower as it goes up.
Once the shaft is added you should have a basic drawing of a feather.
Step 3 – Draw the Fluff
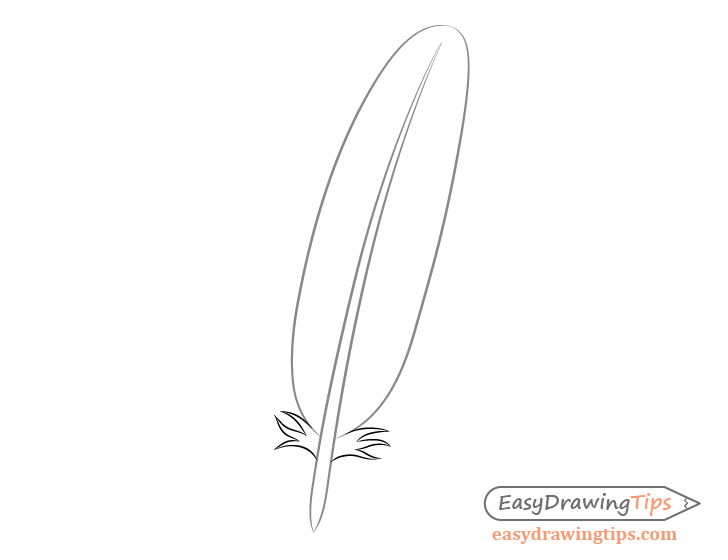
You will notice that the drawing in the previous step looks quite plain. To create a more interesting feather start adding some of it’s smaller details.
Start with the fluff that feathers tend to have near their bottom. Draw this in small pointy clumps with curves or waves in their shapes. Try and make each one slightly different from the rest (so that the feather looks natural). At the same time add them in a way where they are fairly balanced on both sides of the shaft.
Even with this little set of details you can see that the drawing already starts to look much nicer.
Step 4 – Draw the Splits at the Bottom
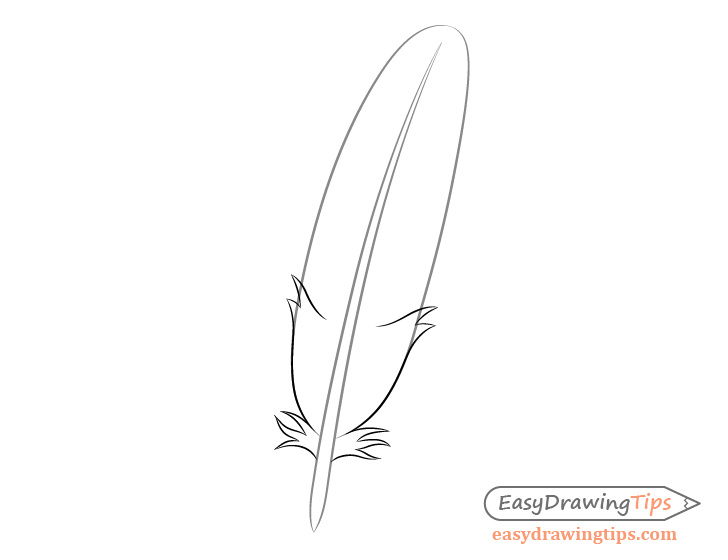
A feather is comprised of a lot of little barbs that tend to get splits in them. Using the outline from step one as a guide start drawing these in as shown in the example above.
Similar to the fluff add some pointy clumps that curve out of the feather’s main shape.
Step 5 – Add More Splits Running to the Top of the Feather
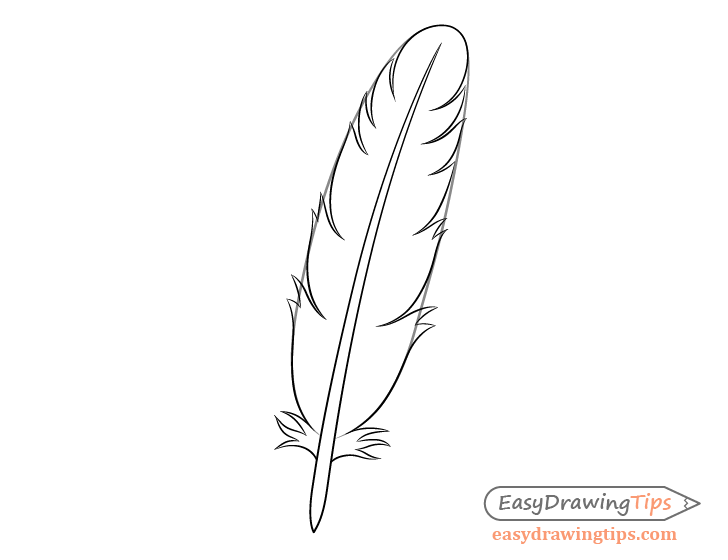
Draw more splits running up the feather as shown in the example. Keep on using the outline from step one as a guide to “frame” these. Meaning that you generally don’t want the splits to go too far outside of it. Also, be careful not to make the two sides overly symmetrical. Try and distribute the splits somewhat unevenly.
Step 6 – Clean up the Drawing
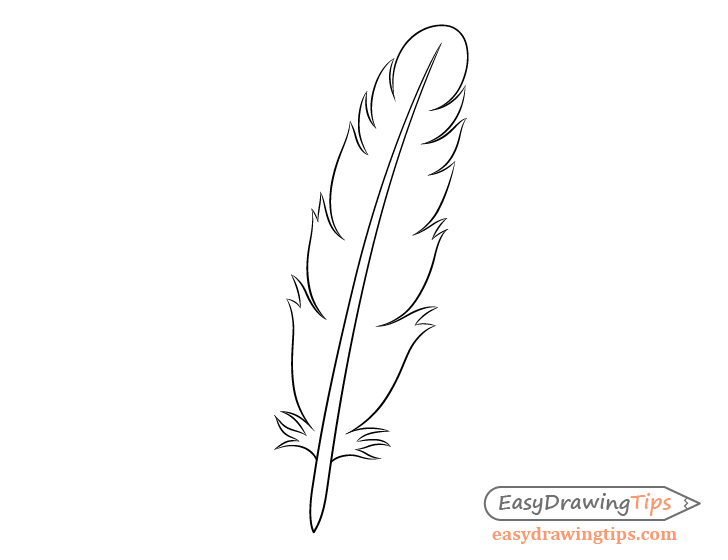
Once you’ve added the different splits and curves in the barbs you can clean up the drawing by erasing any visible parts of the outline from step one. Afterwards, make any adjustments you feel are required. When you are happy with how things look trace over your lines to darken them.
When finished with the above you should be done with the drawing.
Conclusion
This tutorial shows how to draw a simple but detailed feather. It teaches an approach that can be particularly helpful in drawing objects that have an uncomplicated overall shape but a lot details along their edges.
If you go into the details right away there is a higher chance that the main shape of the object will get distorted as you focus on them. You can reduce the chances of this happening by first making a simple outline like the one used for the feather in this tutorial to act as a guide.
If you like these kinds of guides with easy to follow step by step instructions and useful tips, be sure to to also try the following:
- How to Draw a Milk Carton Step by Step
- How to Draw a Pizza Slice in 6 Steps
- How to Draw a Wolf Face & Head Step by Step

