How to Draw Beans & Bean Pods Tutorial
This beginner friendly step by step tutorial shows how to draw realistic beans and bean pods and how to apply very simple shading.
The tutorial consists of two parts. One is drawing a bean pod and the other is drawing an individual bean. It can be a very good exercises for those looking to practice basic pencil shading.
Both the bean and the bean pod have fairly simple shapes but to simplify the tutorial even further both will be drawn as though hanging in the air. This means there will be no need to draw the drop shadow or worry about light reflections from the surface. You can just focus on basic straight forward shading.
Drawing a Bean Pod
The first part of this tutorial is drawing the bean pod.
Step 1 – Line Drawing
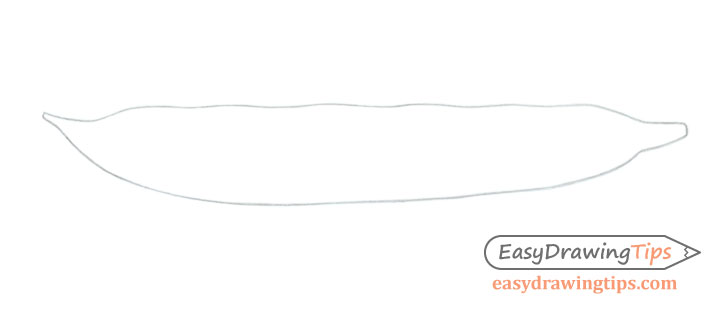
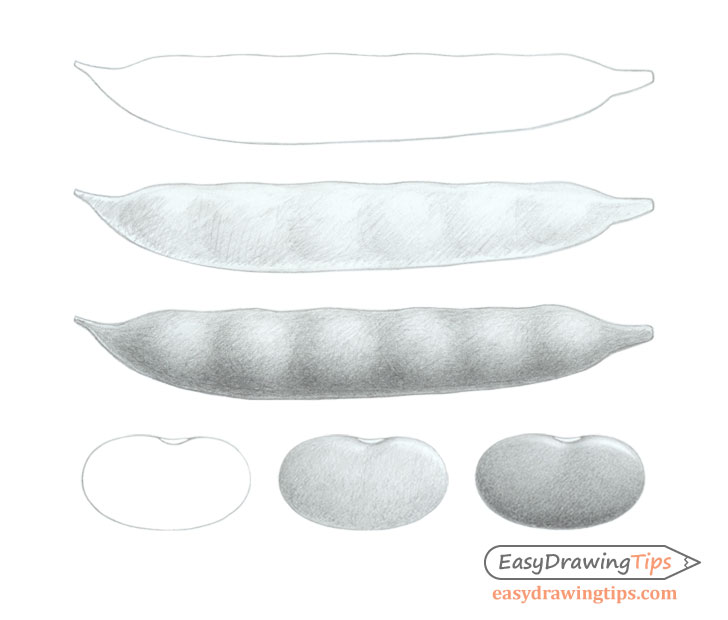
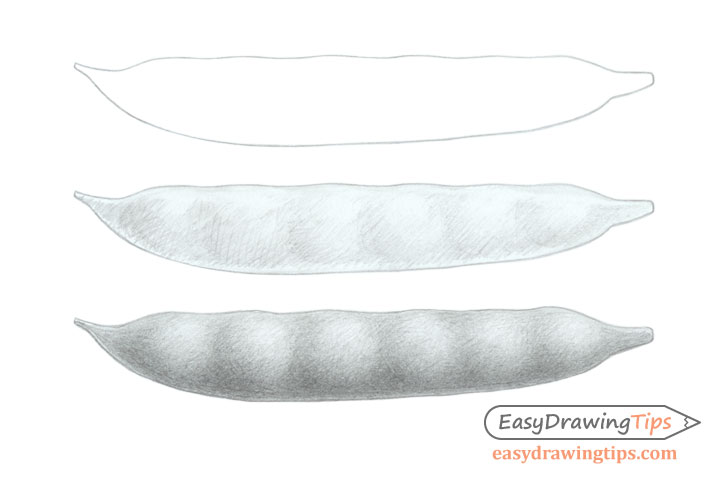
Start the bean pod drawing with a simple outline of it’s outer shape. Generally the bottoms of bean pods will be shaped somewhat similar to a boat. The top will tend to have some bumps based on the number of beans it has inside.
Step 2 – Applying Shading
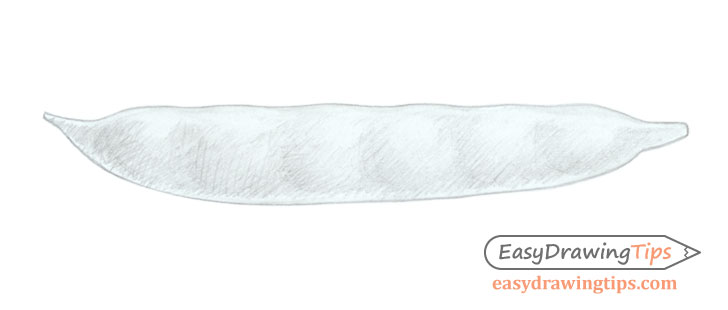
For this particular example the light is coming from the upper right of the bean pod. This means the darkest shadows will be on the bottom left. As already mentioned the bean pod is drawn as though its floating in the air so there is no need to worry about drop shadows or reflections from the surface.
The surface of the bean pod itself is not very smooth so there will also be no sharp/bright highlights.
For the actual shading process you can apply crosshatch strokes making darker lines on the “in shadow” section of the bean pod.
For different stroke types see:
Shading Techniques and Stroke Types Drawing Tutorial
Each individual bump will be somewhat similar to shading a sphere in that it will have a fairly smooth transition from light to dark.
For shading basic 3d shapes see:
How to Shade Basic 3D Shapes Tutorial
Step 3 – Finished Drawing

Overall the bean pod will be darker towards the bottom and lighter towards the top. Keep apply multiple sets of strokes to darken the shaded areas and to smooth out the gradients.
Drawing a Bean
Drawing an individual bean is the second part of this tutorial.
Step 1 – Line Drawing
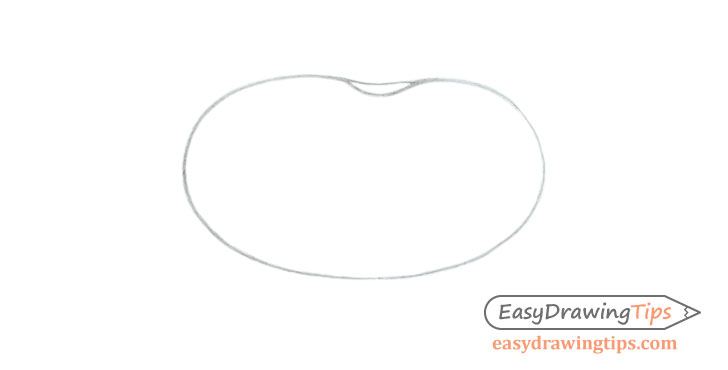
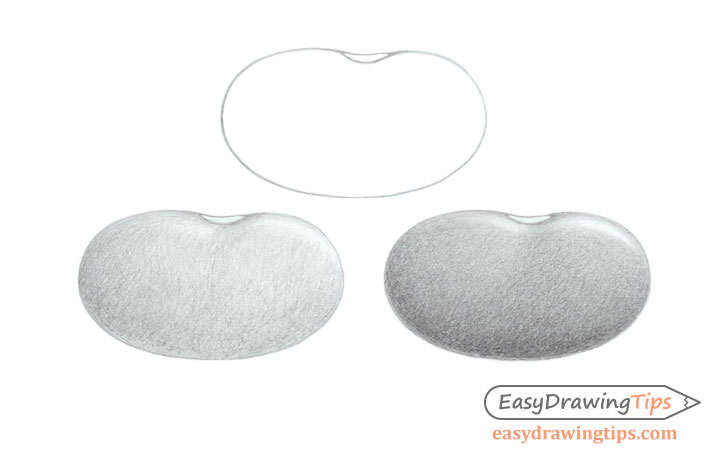
Again start by making a simple line drawing. In this case you will want to make an outline drawing of the bean as well as the tiny part at the top middle where the bean was attached to the bean pod. Beans tend to have a small white spot in that area.
Step 2 – Applying Shading
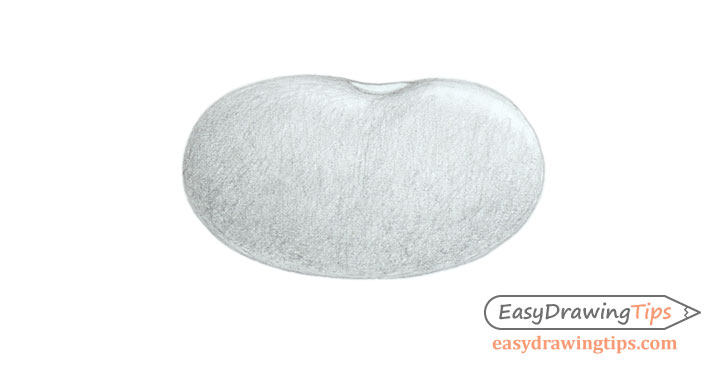
Same as the earlier example of the bean pod in this case the light is also coming from the upper right side of the drawing. Again this means that the darker areas will generally be towards the bottom left.
Any part of the bean that curves further away from the light will get progressively darker and any part that curves towards it will get lighter.
You can again star the shading process by applying a set of crosshatch strokes and progressively applying more and more layers to blend them together and create a smooth looking surface.
Step 3 – Finished Drawing
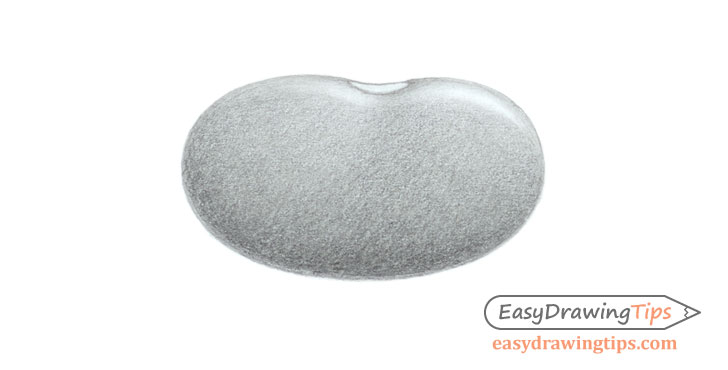
Due to it’s smooth surface the bean will tend to have fairly bright “light” areas as compared to the ban pod. There will also be a slightly darker area towards the upper middle portion of the bean as that area is lightly indented. There will also be a very tiny dark spot at the upper right area near where it was attached to the bean pod as again that part is slightly indented and curves away from the light.
Conclusion
This is a fairly simple tutorial an can be a very good pencil shading exercise for beginners but you can also apply the same principals to drawing in other mediums.
For some general beginner tips on good drawing practices see:
Beginner Guide to Learning to Draw
For more basic shading tutorials similar to this one see:


