How to Draw Broccoli Step by Step
This easy tutorial shows how to draw broccoli in four step going from a simple construction sketch to a detailed line drawing.
The tutorial focuses on the use of construction lines to help get the right shape of a complex object. It can be particularly helpful for beginners looking to improve their line drawing skills.
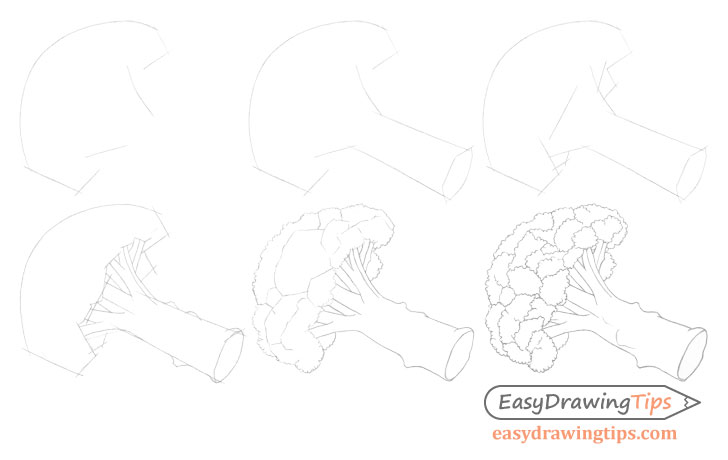
Step 1 – Make a Construction Line Drawing of the Broccoli Crown
Start by making a very basic construction drawing to frame the main shape/shapes of the broccoli. Keep all of the construction lines throughout the entire tutorial very light as you will want to erase them later.
For the first step begin with the crown (top part) of the broccoli. For this particular example draw the very top with one big curve and define the sides with just a few lines that loosely “frame”the shape.
The area between the crown and the main stem will be the “branches” where the stem splits out into multiple parts. For now you can draw it with just two lines. It should be wider towards the crown and narrower toward the main stem.
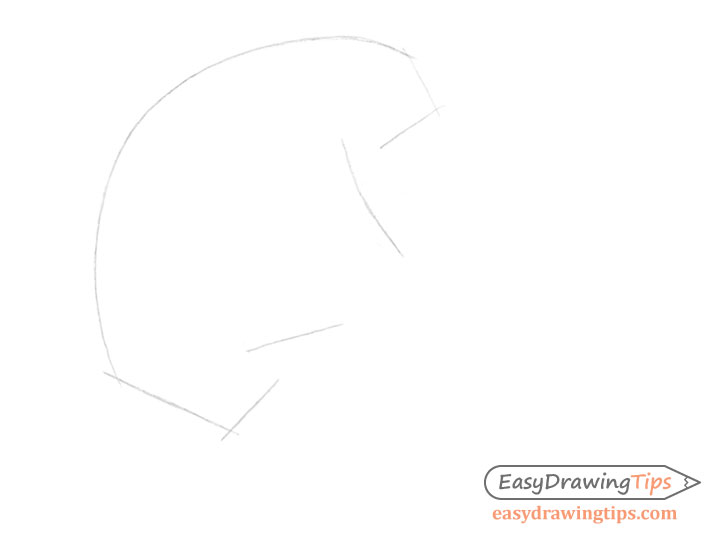
Step 2 – Make a Construction Line Drawing of the Stem
Similar to the upper portion you can again define the main stem with just two lines. Generally a broccoli stems will have a fairly cylindrical shape making the bottom where they are cut off fairly round. However in this case the broccoli is being viewed on an angle so you will want to draw the bottom more like an oval.
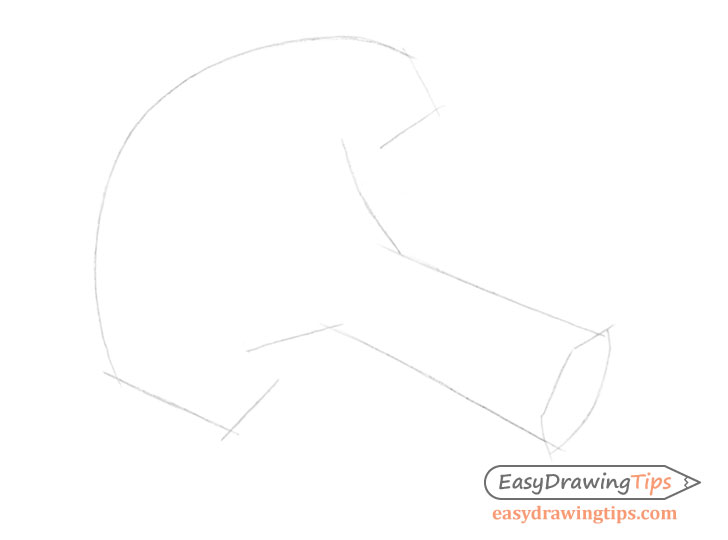
Step 3 – Finish the Construction Drawing
Finally to finish the construction drawing add a few lines that very loosely indicate the shape of the under side of the crown.
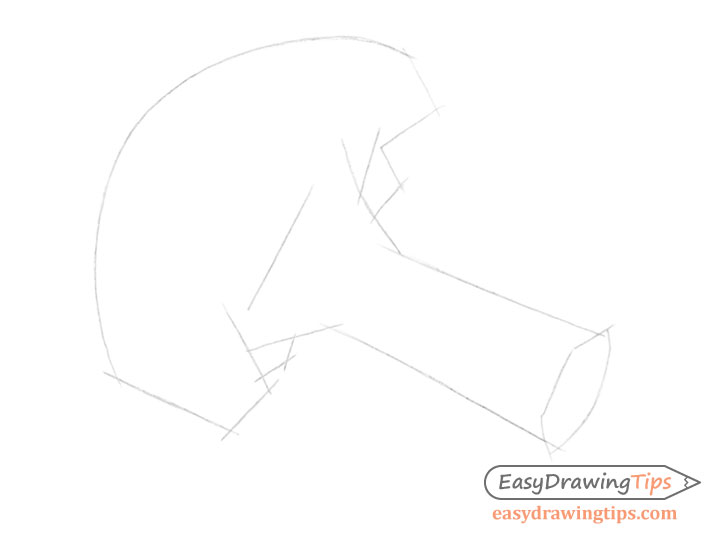
Step 4 – Draw the Stems
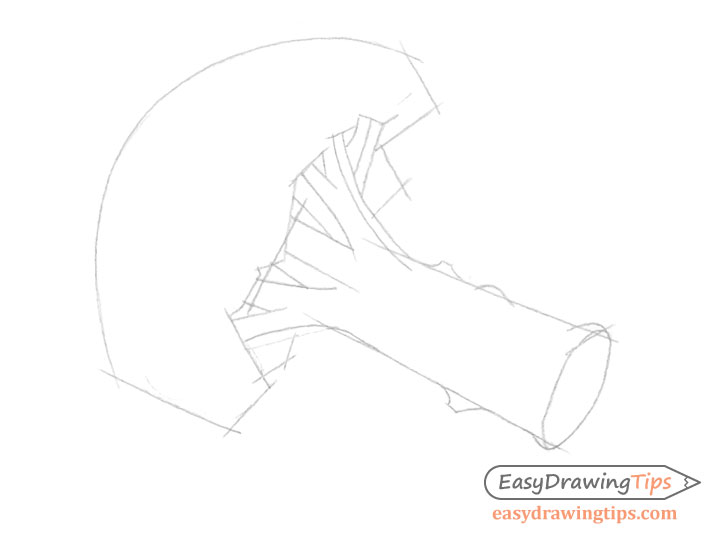
Now draw the individual ‘branches” as well as the details of the main stem like the smaller bumps and curves. You can also add a few more details to the bottom of the crown.
Step 5 – Make a Construction Drawing of the Florets
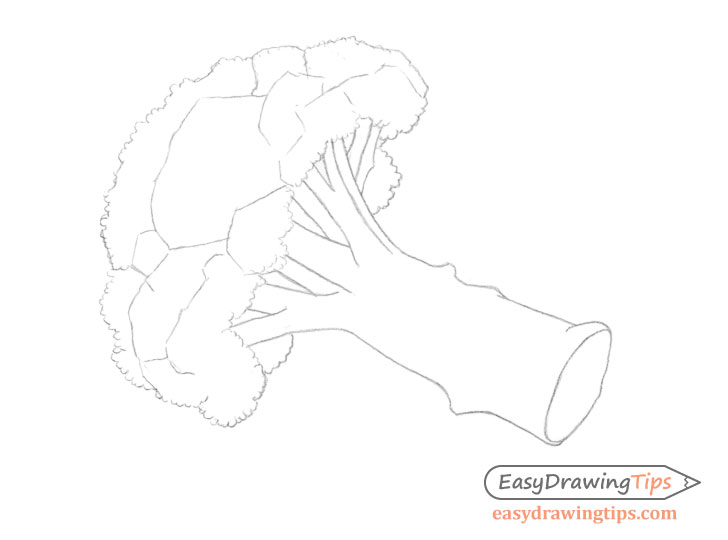
Now clean up the initial set of construction lines and being adding the smaller details of the broccoli. Roughly define each floret section with construction lines similar to what was done for the entire crown in the first step of the tutorial.
After you are done you can begin adding the individual buds around the main outer shape of the crown.
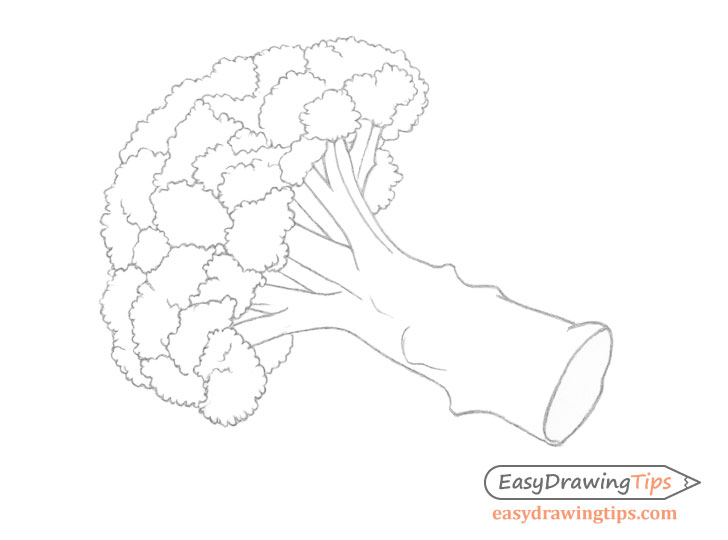
Step 6 – Finish the Broccoli Drawing
Again erase the construction lines. Next draw the buds for each of the florets as well as any bumps/curves along the main shape of the trunk. Once done you can go over your entire drawing with a more solid pencil outline to finish.
Conclusion
Though broccoli has many fairly complex and irregular shapes drawing it is not very difficult, especially if you follow the step by step process outlined in the tutorial. Start with simple construction lines to define each major shape going from largest to smallest. Save the details for after you have defined the main proportions and have correctly positioned everything throughout the entire drawing.
For more similar tutorials see:
- How to Draw a Carrot Step by Step
- How to Draw an Onion Step by Step Tutorial
- How to Draw a Peach Step by Step Tutorial


