How to Draw a Phone Step by Step
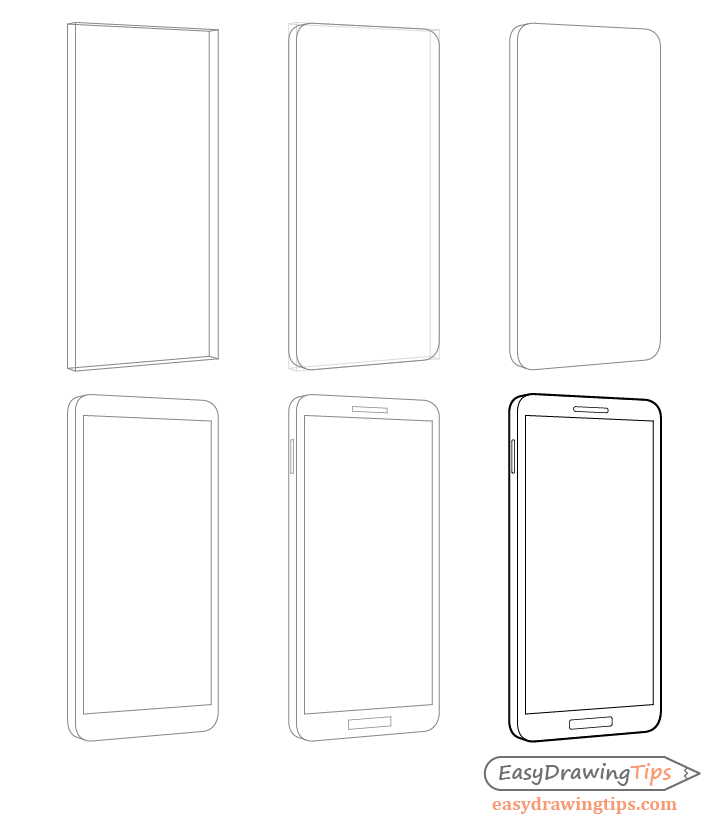
This tutorial shows how to draw a phone in perspective in six steps. It can be good for beginners that are looking to practice drawing something easy.
The tutorial focuses on the generic shape of a phone so you can apply the same principals to drawing real brands of smartphones (as long as they have somewhat similar shapes).
Be sure to draw light pencil lines for the initial steps of the tutorial as you will need to do some erasing later.
Step 1 – Make a Construction Drawing of the Phone
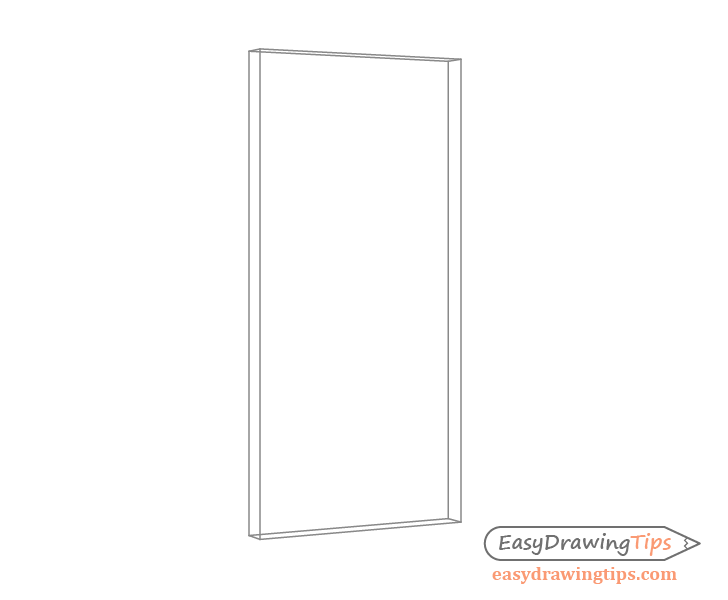
Start by drawing a transparent 3d rectangle (rectangular prism) in two point perspective. This should look like a very thin box that outlines the basic 3d shape of the phone (thickness, width and height).
For a detailed explanation of perspective drawing see:
Perspective Drawing Tutorial for Beginners
Step 2 – Add Rounded Corners
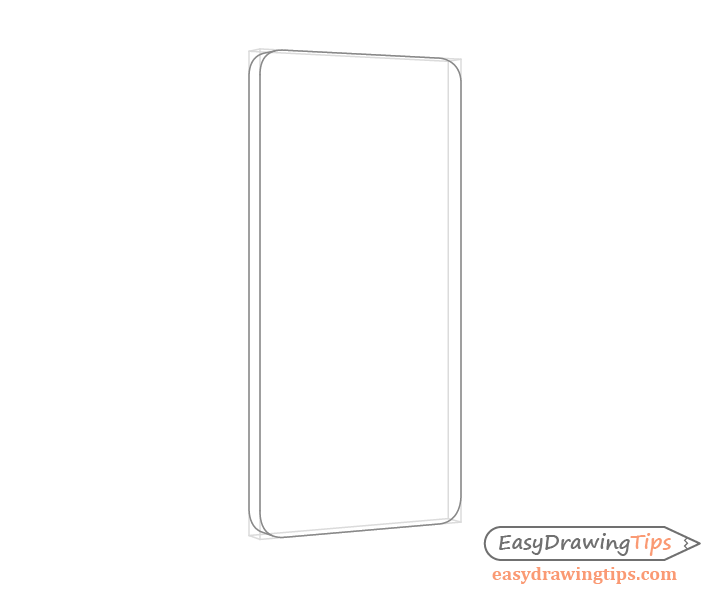
Round off the corners of the prism. These only need to be the ones that will be visible in the final drawing.
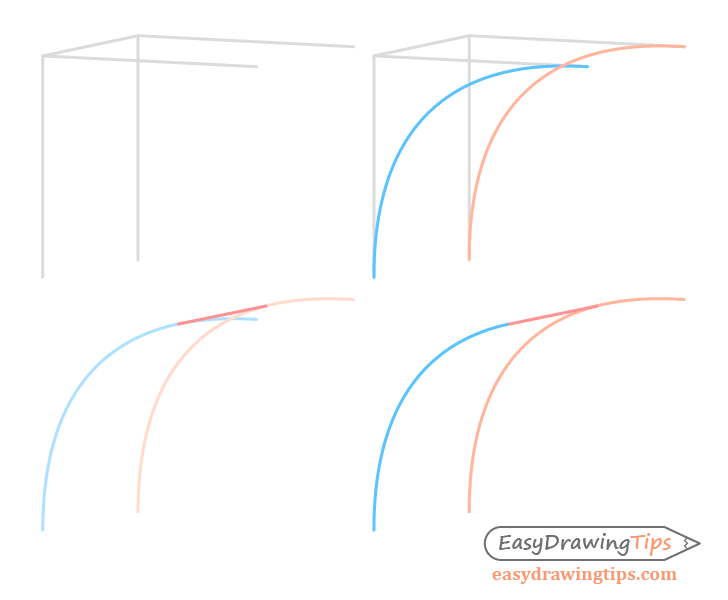
You can see a close up example of drawing the rounded corners above.
Draw a pair of curves with one on the front side of the prism and one on the back. Next connect the two with a line in a way that makes a smooth transition between them. This line should also match the overall perspective of the phone (0riginate from the same vanishing point as the “box” in the first step).
Step 3 – Clean up the Construction Lines
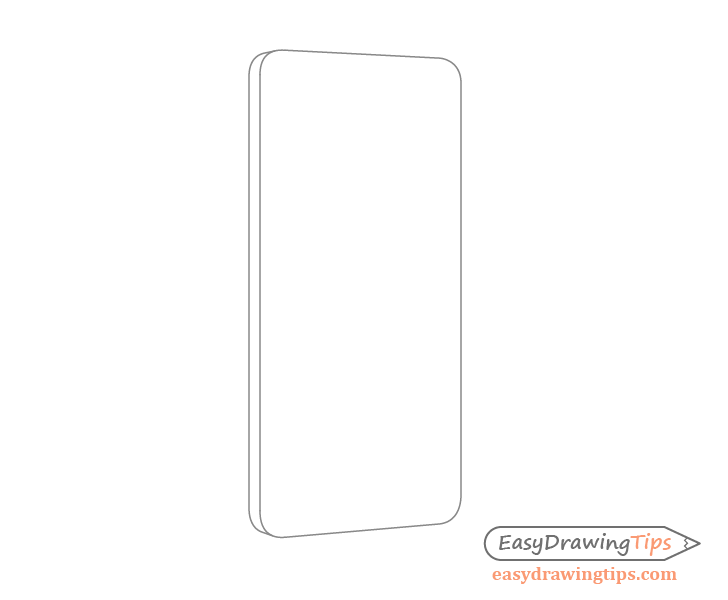
Finish adding the rounded corners and erase all of the construction lines so that you have a clean drawing of the main shape of the phone.
Step 4 – Draw the Screen

On the front side of the phone draw the screen. Be sure that the lines that define it’s top and bottom match the perspective of the drawing.
Step 5 – Draw the Buttons
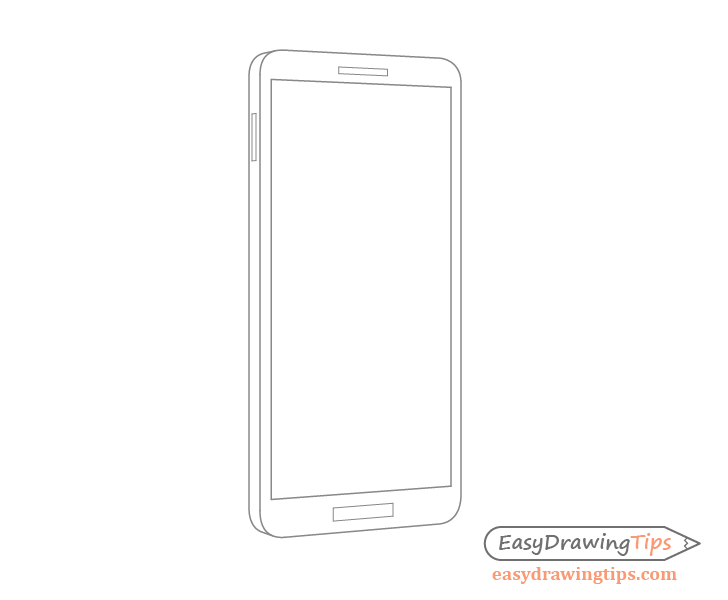
Outline the buttons with straight lines. Again be sure that their perspective matches with the rest of the phone.
Step 6 – Finish the Drawing
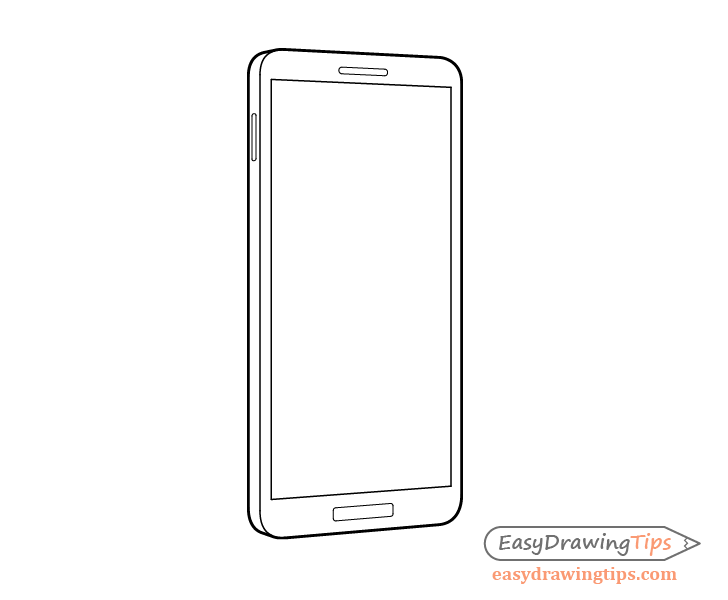
Finally round off the corners of the buttons and you should have all of the different parts of the phone fully drawn out. Go over the drawing with darker more solid lines to finish the tutorial.
You can optionally put a slightly darker and thicker outline around the main shape of the phone to make it stand out more than the smaller details.
Conclusion
This is a fairly easy beginner friendly tutorial but it can be a good perspective drawing exercise. For more similar tutorials also see:
- How to Draw a Book Step by Step
- How to Draw a Coffee Cup Step by Step
- How to Draw a Milk Carton Step by Step
- How to Draw a Sunflower Step by Step
- How to Draw a Shoe in Nine Steps
- Beginner Guide to Learning to Draw