How to Draw a Book Step by Step
This beginner friendly tutorial show how to draw a book step by step. It includes simple instructions and detailed drawing examples for each step.
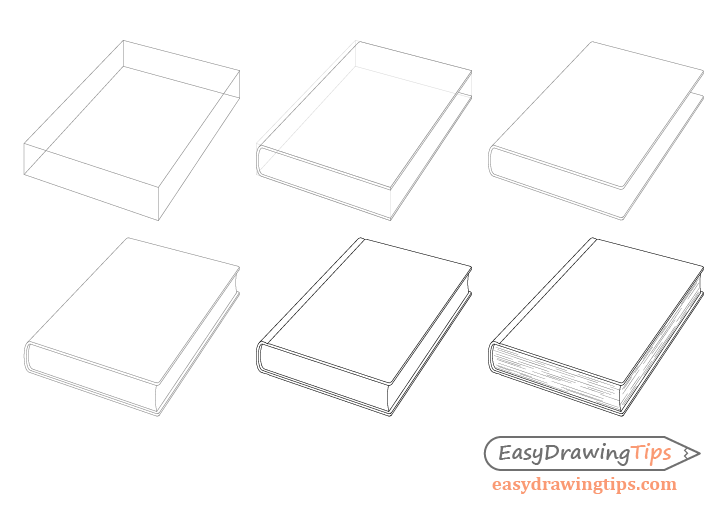
This tutorial can be particularly helpful if you want to practice some basic perspective drawing.
Step 1 – Make a Construction Line Drawing of the Book
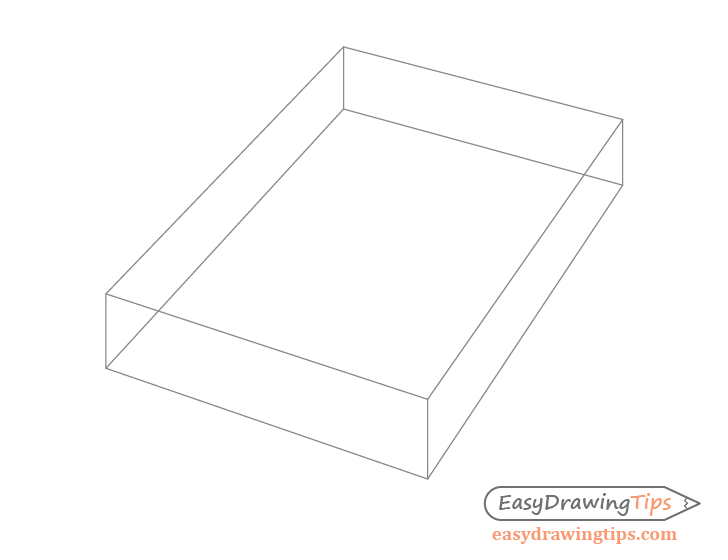
Start the drawing of the book by first making an “in perspective” 3d rectangle (a rectangular prism). This will act as as a “construction frame” for the book and therefore should have about the same width, height and length.
If drawing on paper be sure to make very light lines for this frame so that you can easily erase it later. The lines in the example have been darkened to make them easier for you to see.
For an explanation of perspective drawing see:
Perspective Drawing Tutorial for Beginners
Step 2 – Draw the Book Cover
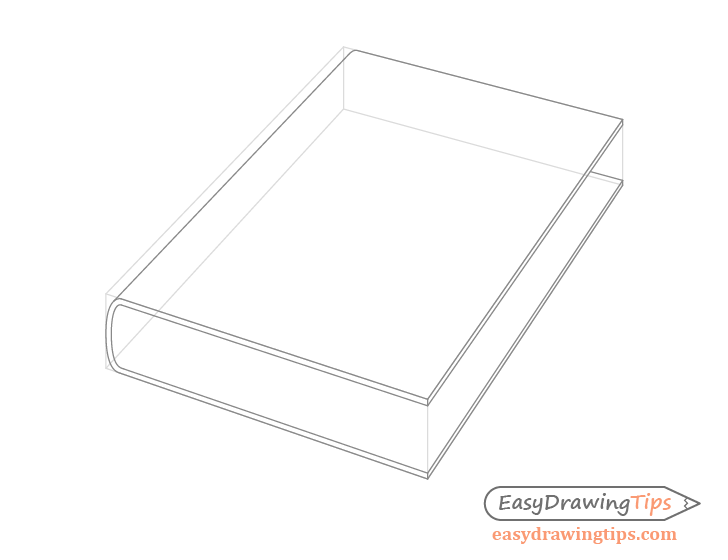
Inside the construction frame draw the book cover (still with light lines at this point). You can simply draw another set of lines inside the prism to give the cover its “thickness”.
Draw a light curve for back/binding area closer to the viewer and from it project a line towards the opposite end of the book (upper area of the drawing). You will also want to slightly round that corner as well.
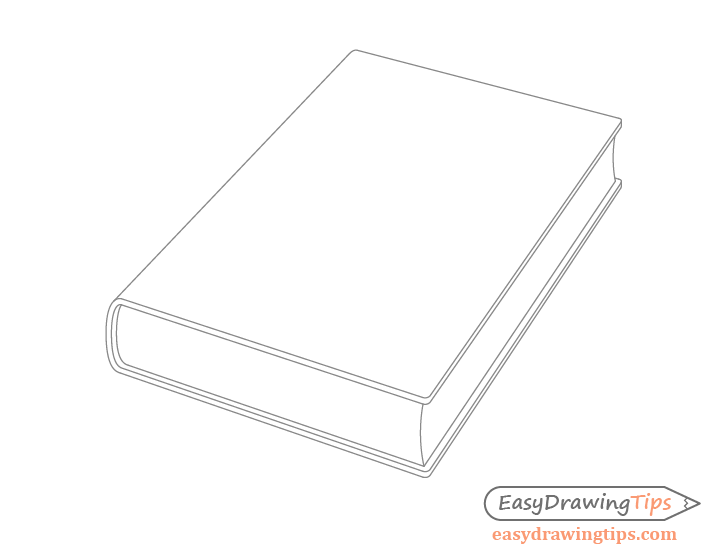
Step 3 – Draw Rounded Corners on the Cover

Erase the construction drawing and add rounded corners to the “front” edges of the book cover.
Step 4 – Draw the Shape of the Pages
Inside the book cover draw the combined shape of all of the pages. These should basically be their own smaller block that is indented inside the cover. As the back area where the pages are glued has a light curve there will tend to be a curve formed in the front as well. So draw the front corners of the “page stack” with light curves.
Step 5 – Draw the Joint
Now add the small indents called the joint toward the back end of the the top and bottom parts of the cover. Draw a line between the two indents at the top to show that the whole area is indented.
You can go over your drawing with darker more solid lines afterwards.
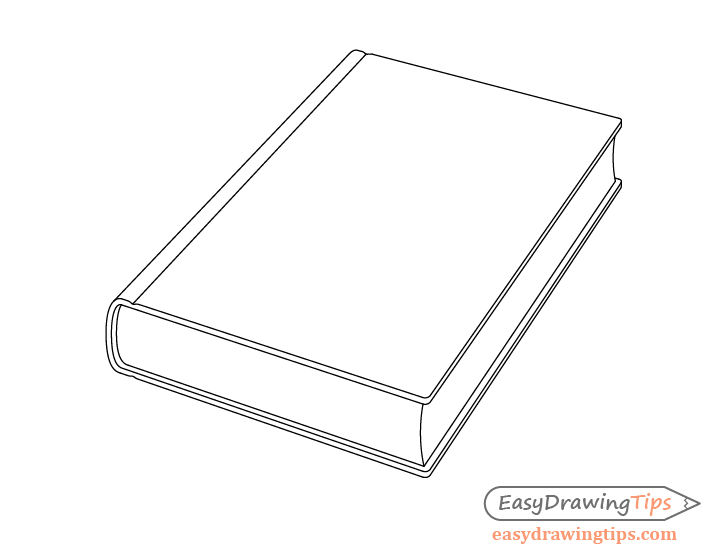
Step 6 – Draw Hints of the Individual Pages & Finish the Drawing

To add some finishing touches you can draw in some small short lines along the sides of the “page stack” to give a hint of the individual pages.
Conclusion
Books are a fairly common object with a pretty simple shape. Drawing the basic shape of a book in perspective can be good practice for beginner artists.
For some more beginner drawing tips general good drawing practices see:
Beginner Guide to Learning to Draw
For another similar tutorial see:
- How to Draw a Phone Step by Step
- How to Draw a Coffee Cup Step by Step
- How to Draw a Milk Carton Step by Step
- How to Draw a Sunflower Step by Step
- How to Draw a Shoe in Nine Steps
For a more complex perspective drawing tutorial see:
How to Draw a Chair in Perspective Step by Step


