How to Draw a Mango Step by Step
This tutorial shows how to draw a mango step by step. It’s fairly short and simple and can be great for beginners who would like to practice basic shading.
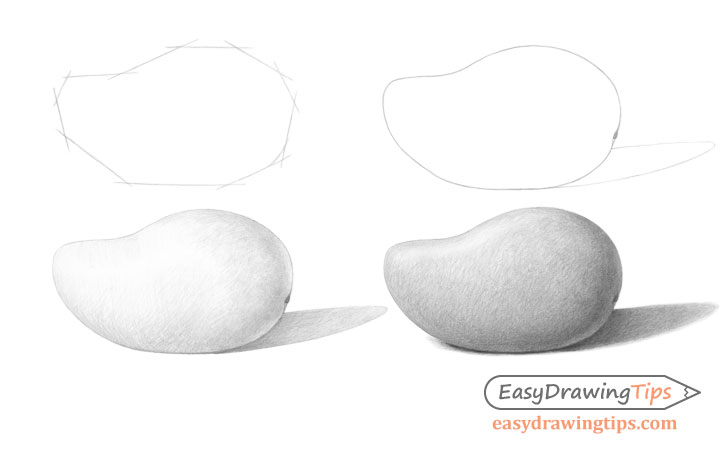
This example is drawn from the side view. It may be a little difficult to position a mango in this as it will probably need to lean against something. However this view shows the mango’s shape very well and is easy to draw from.
Step 1 – Make a Construction Drawing of the Mango
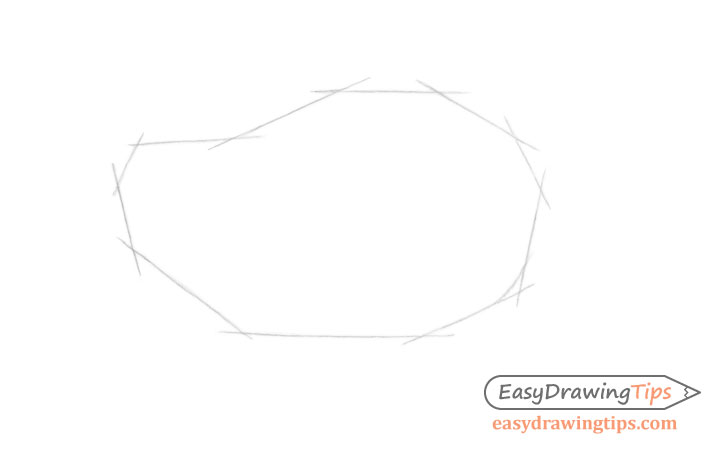
Start by making a construction drawing of the mango. The purpose of this is to quickly get its general proportions and the flow of its shape.
In this case the proportions will mainly be the overall width, height and the size of the tip compared to the wider back area.
Step 2 -Make a Line Drawing

Inside the construction frame make an outline drawing of the mango and it’s shadow. In this case the light will be coming from the top left and slightly to the front of the mango so the shadow will be cast to the right and slightly behind it.
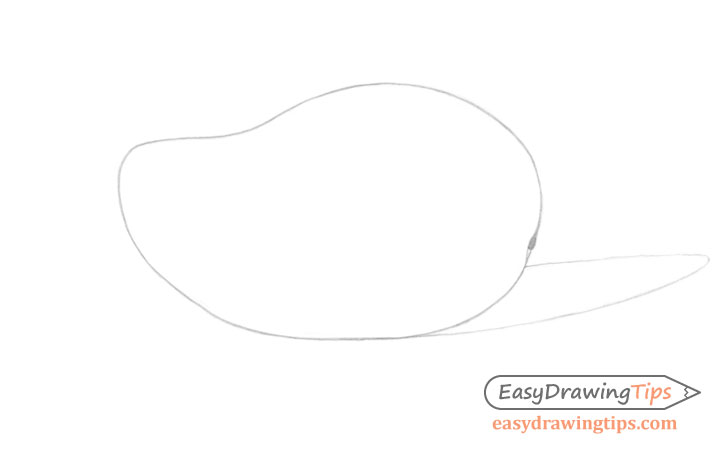
Erase the construction lines after you finish the outline of the mango so that you have a clean drawing like the one in the above example.
Step 3 – Apply Basic Shading
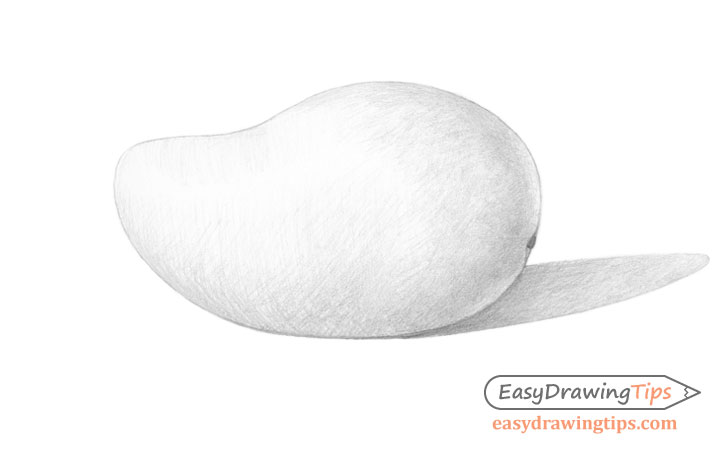
To shade the mango apply sets of either straight or lightly curved strokes. Try and leave a little bit of distance between these strokes to keep them visible.
For different shading techniques see:
Shading Techniques and Stroke Types Drawing Tutorial
As already mentioned the light is coming from the top left of the drawing and is slightly to the front of the mango. This means that the darker areas will be on the bottom and the right.
You may also notice that in the example there is a small light area on the bottom right. This is to show the light reflected from the surface the mango is on. You will want to apply only light shading to this area and have a smooth gradient transition between it and the darker “in shadow” area.
Step 4 – Finish the Mango Drawing
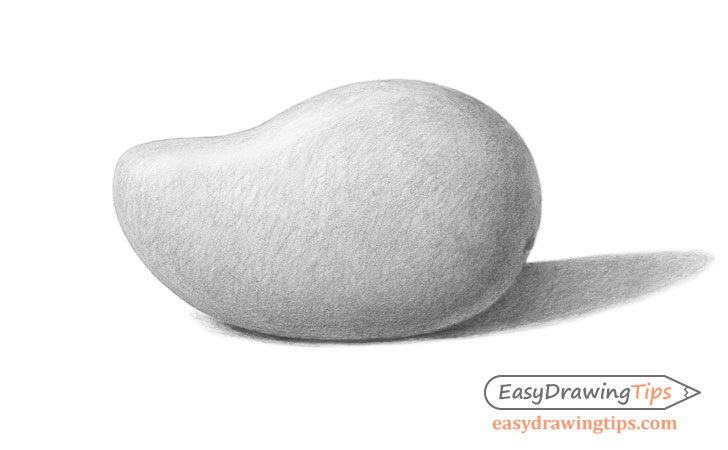
To finish the drawing darken the shaded areas of the mango as well as the shadow it casts on the surface and smooth out the gradients on both (transitions from light to dark) by applying more layers of overlapping strokes as needed.
Make the edges of the shadow more blurry the further it is from the mango. This will give the shadow a softer and more natural look.
Conclusion
As a mango has a very basic shape both the line drawing and shading parts of this tutorial are fairly simple. If you would like to try some more easy beginner friendly tutorial see:
- Egg Step by Step Basic Shading Tutorial
- How to Draw a Tomato Step by Step
- How to Draw Nuts Step by Step


