How to Draw a Pyramid in Two Point Perspective
This step by step tutorial explains how to draw the 3d shape of a pyramid in two point perspective.
Before going into this tutorial you should check Perspective Drawing Tutorial for Beginners if you have not already done so.
Step 1 – Draw a Two Point Perspective Base of the Pyramid
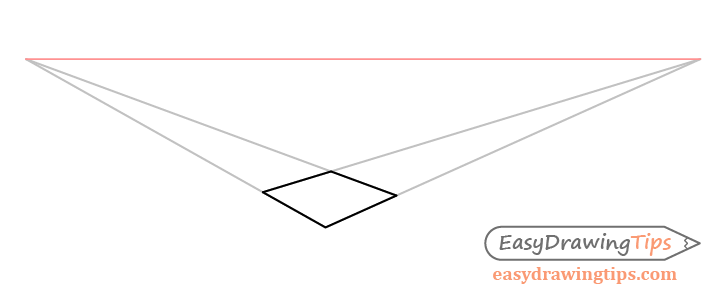
Draw the base of the pyramid by projecting two sets of lines from the horizon line.
This will basically be a perspective drawing of a square.
Step 2 – Determine the Center of the Base
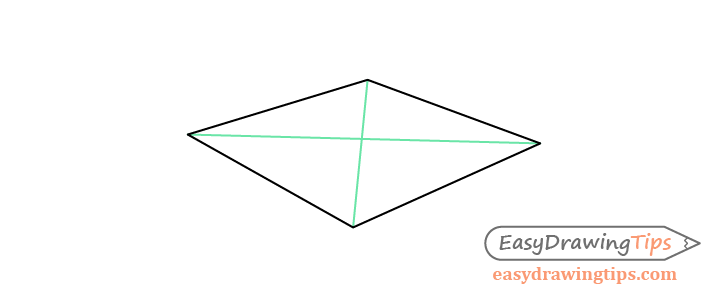
Draw two intersecting lines going form the corners of the base. The intersection point of these lines will be the center of the pyramid.
Step 3 – Set the Height & Position of the Top
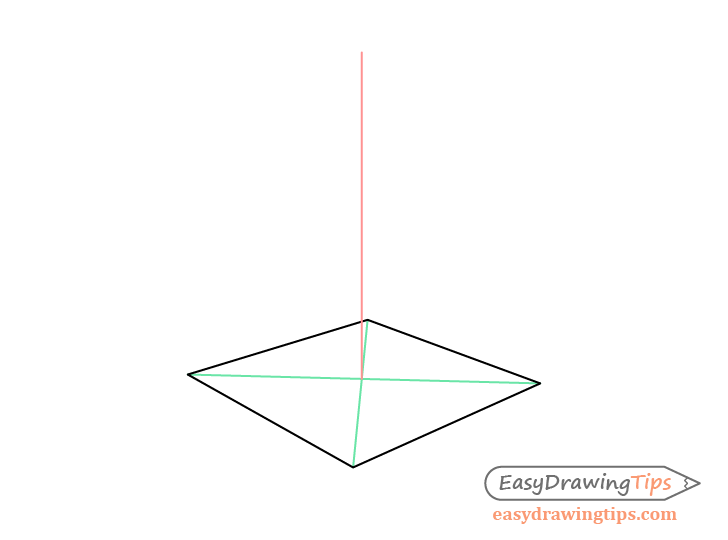
From the middle point of the base project a straight line upwards depending on how tall you want the pyramid to be. The end of this line will be the tip of the pyramid.
Step 4 – Draw the Sides
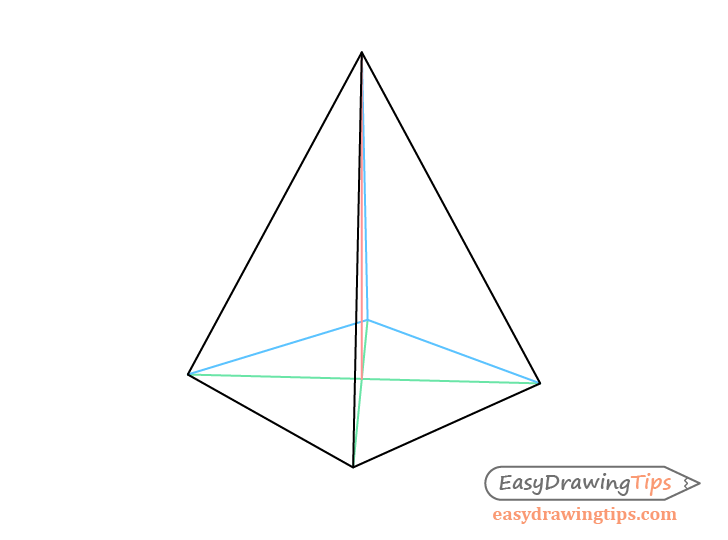
From the top of the “height line” draw lines to the corners of the base of the pyramid.
The line for the hidden side is optional as its only really needed if you want the pyramid to be “see through”.
Step 6 – Finished Two Point Pyramid Drawing
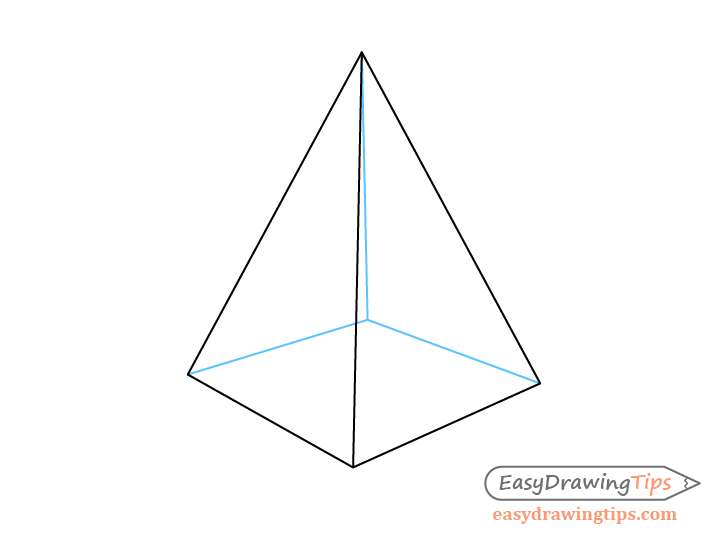
Finally you can erase any guide lines to have a finished line drawing of the pyramid.
Above is the “see through version” of the pyramid and a line drawing one below.
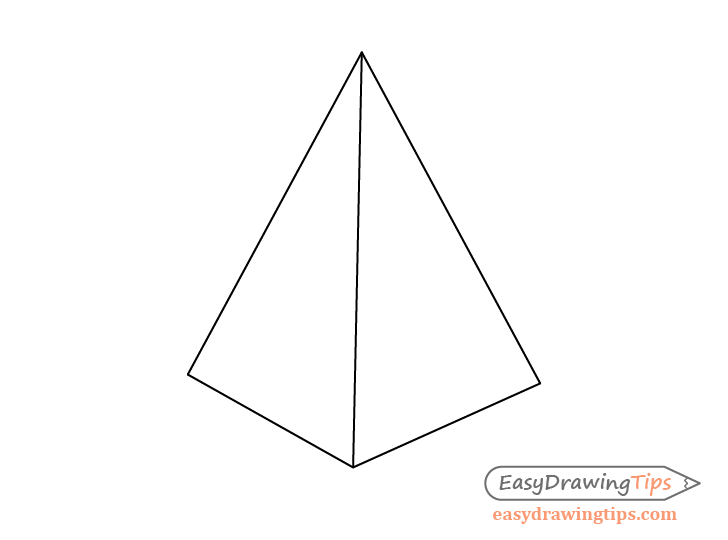
For a tutorial on shading the pyramid (and other shapes) you can see:
Drawing & Shading Basic 3d Shapes Tutorial
Conclusion
This is a fairly simple tutorial but it can be very useful as pyramids are fairly common shapes. Knowing how to properly structure a one should help you avoid making mistakes when drawing.
Also check out:

