How to Draw a Cone in Perspective
This step by step tutorial explains how to draw a cone in perspective.
Before going into this tutorial you should check the Perspective Drawing Tutorial for Beginners if you have not already done so.
Step 1 – Establish the Base of the Cone
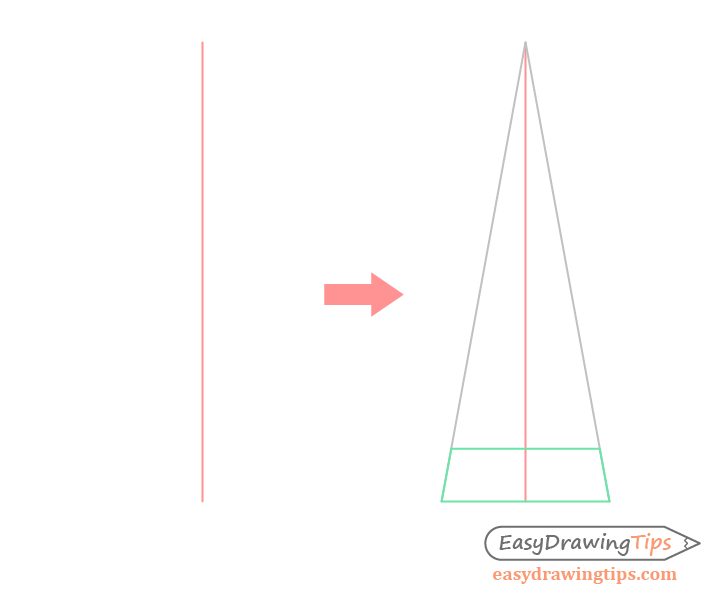
Start the drawing of a cone by first drawing a vertical line through what will later be the center of the shape.
Based on this line project two symmetrical perspective lines down from the eye level to create an in perspective square.
You can erase the perspective lines and the top part of the vertical line after you finish this step.
Step 2 – Get the Center of the Base
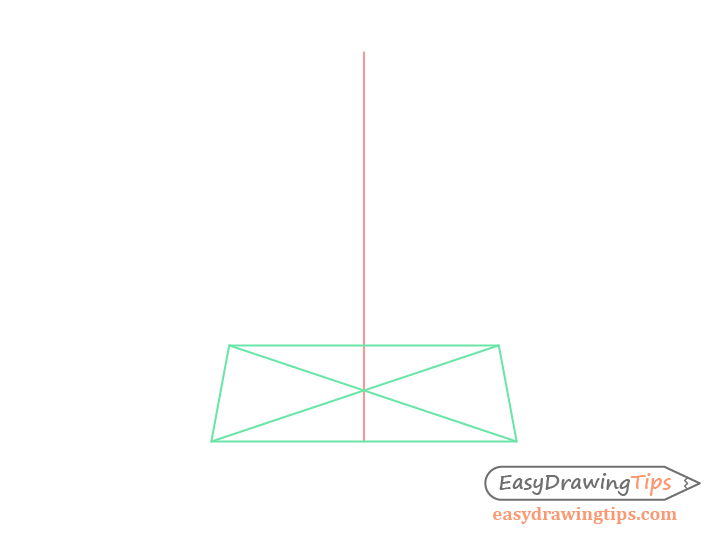
From each end of the base draw a straight line to the one across. This should create an “X” shape. The intersecting point between these two lines will be the middle of the cone.
Step 3 – Draw the Rounded Shape of the Base

Draw a horizontal line through the center of the “X” in the previous step and based on this line draw two halves of the rounded base. The half that is closer to the “viewer” will be larger then the half the farther away half.
Step 4 – Draw the Sides
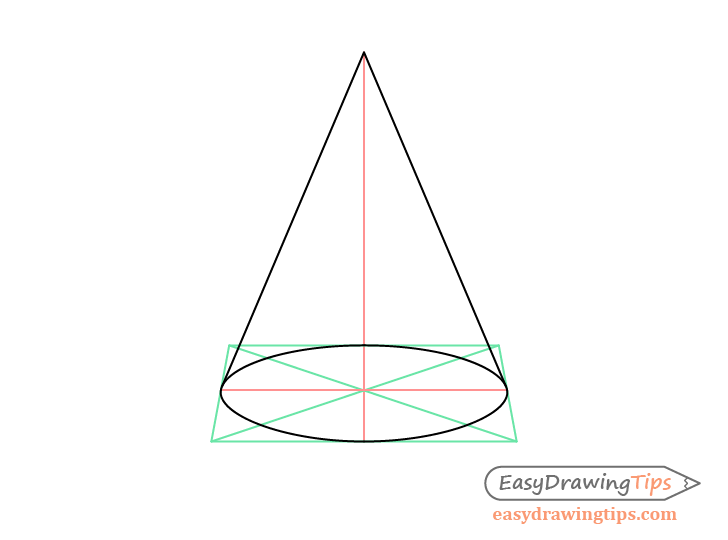
Now you can draw a pair of lines going from the vertical center line to the edges of the round base of the cone.
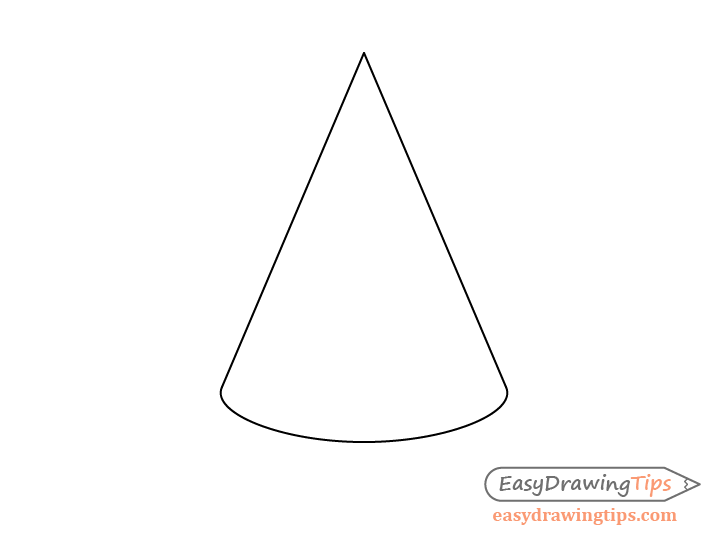
Step 5 – Finished Drawing
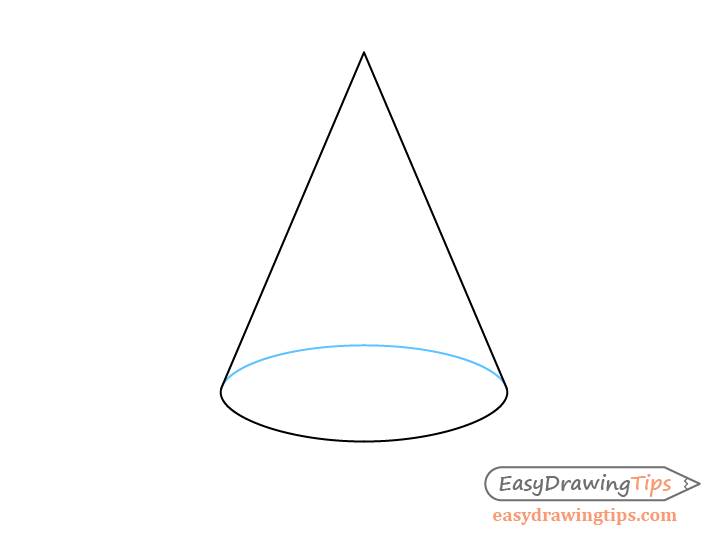
Clean up the guide lines and you should have a finished drawing of the cone. If you want a “see through” drawing you can leave the farther portion of the base visible as in the example above. If not you can erase the hidden part of the base and have a simple line drawing like in the example below.
Conclusion
A cone is very common shape making it very helpful to be able to draw one in correct perspective. Though this tutorial shows only one example you can always adjust the height and size to suit whatever it is you are drawing.
For more basic shapes you can check:


