How to Draw a Pyramid in One Point Perspective
This step by step tutorial explains how to draw a pyramid in one point perspective.
Before going into this tutorial you should check Perspective Drawing Tutorial for Beginners if you have not already done so.
Step 1 – Draw a One Point Perspective Base of the Pyramid
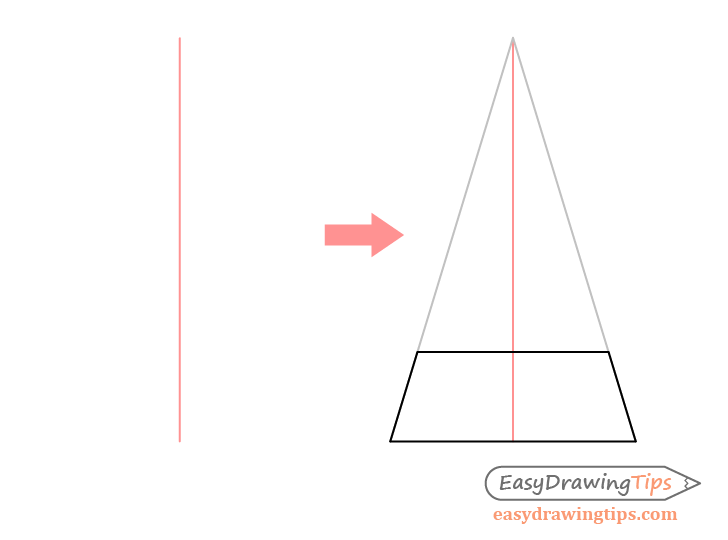
To draw a pyramid in one point perspective first start by drawing a vertical line that will determine the center of the pyramid.
Based on this center line project two perspective lines (evenly spaced) to create an in perspective drawing of the base of the pyramid.
You can erase the perspective lines after you are done but leave the center line for the next step.
Step 2 – Draw the Sides
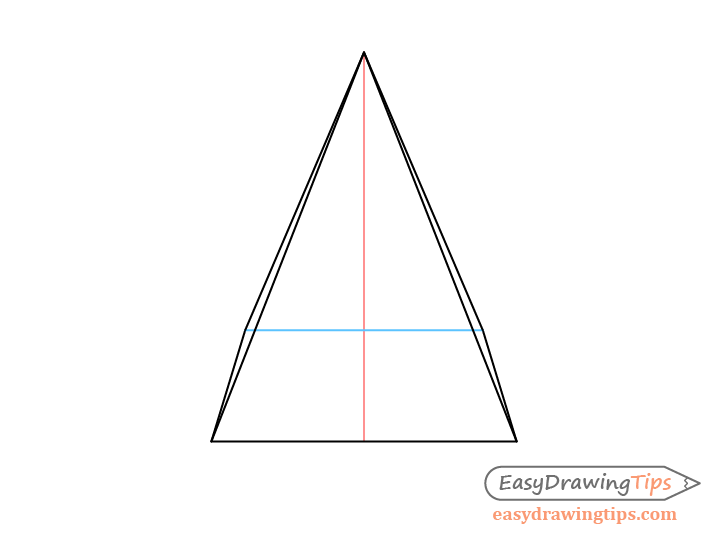
From the center line you can draw a set lines towards each end of the base of the pyramid. You can project these lines from any point on the center line. Higher up if you want a taller pyramid and lower down if you want a shorter pyramid.
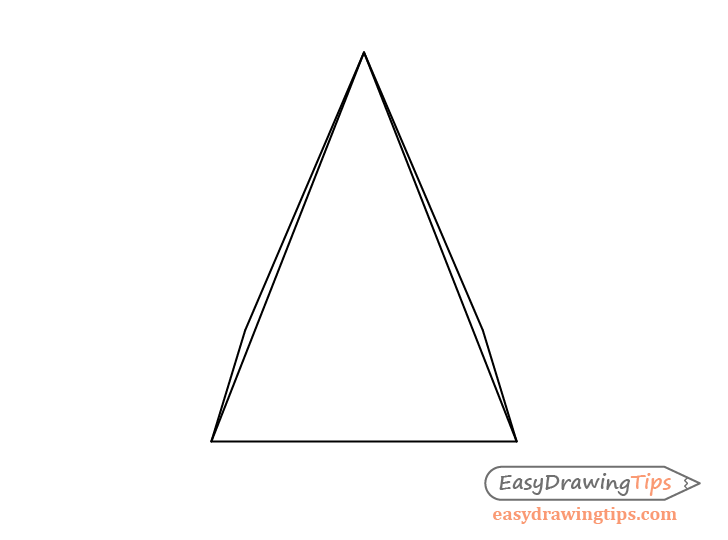
Step 3 – Finished One Point Pyramid Drawing
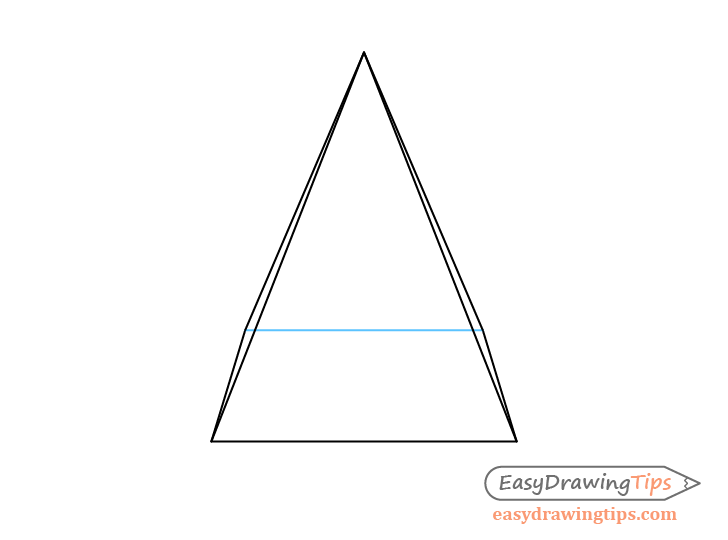
You can erase center line for a finished drawing of the pyramid.
Above is the “see through version” of the pyramid with the back side of the base shown.
Below is a simple line drawing.
Conclusion
A one point pyramid is a very simple 3d object to draw and is a very good way to practice perspective drawing.
For slightly more complex tutorial you can check:


