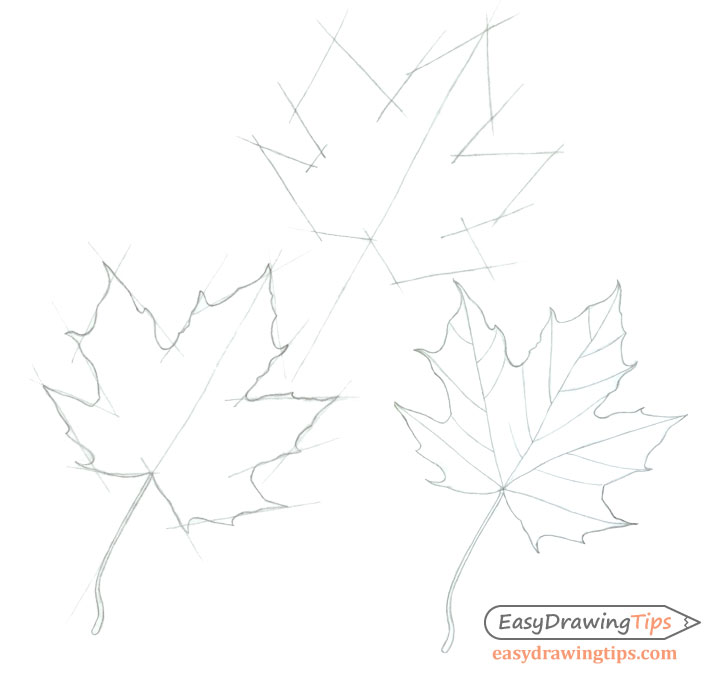
How to Draw a Maple Leaf in 3 Steps
This quick tutorial shows how to draw a maple leaf in three steps. It is fairly easy and great for beginners who want to practice drawing basic things.
Step 1 – Maple Leaf Shape Drawing
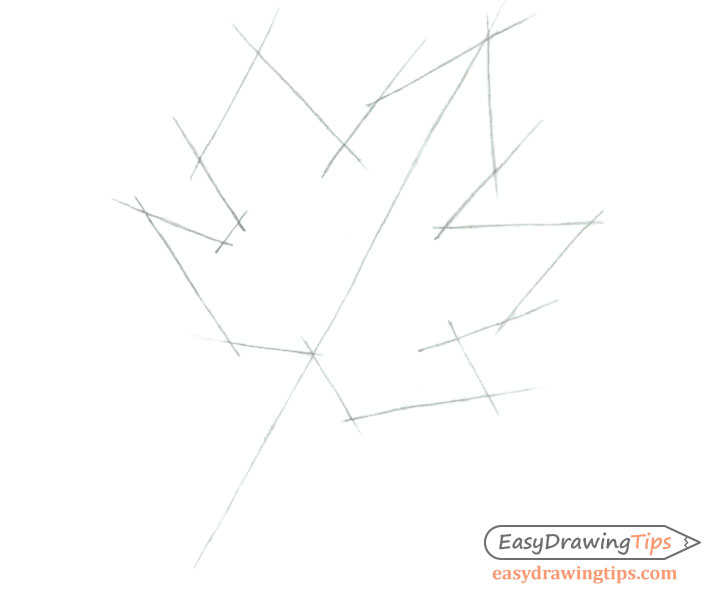
Start the maple leaf drawing by sketching out its basic shape. This can be a very rough sketch with light lines. You don’t need to draw any of the smaller bends in the leaf at this stage as the goal is to create some guide lines for the proportions of the different sides of the leaf.
Step 2 – Maple Leaf Outline Drawing
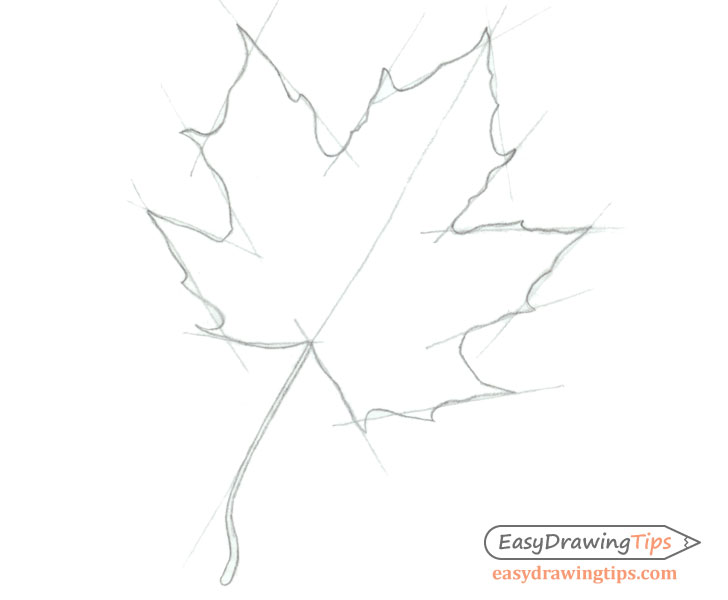
Based on the initial shape sketch of the leaf create a detailed outline drawing of its outer shape. You can erase the guide lines from the previous step after you are done.
Step 3 – Maple Leaf Details
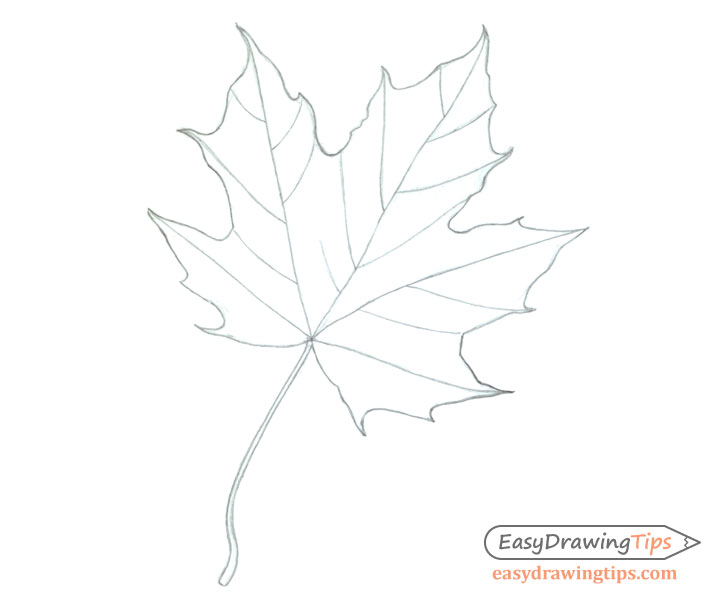
Inside of the outline drawing of the maple leaf draw the smaller details of the veins. Draw the main veins going from the base of the leaf outwards towards the tips and smaller veins branching out from those.
Conclusion
This is a fairly quick and easy tutorial but it can be very good practice if you are a beginner artist. Regardless of what you are drawing start with the bigger shape/shapes first and work your way down to the details.
For drawing a branch with leaves see:
- How to Draw a Tree Branch With Leaves
- How to Draw Broccoli Step by Step
- How to Draw a Sunflower Step by Step


