How to Draw a Mushroom in 8 Steps
This tutorial shows how to draw a mushroom in eight steps. It’s main focus is on line drawing but there is also some basic coloring.
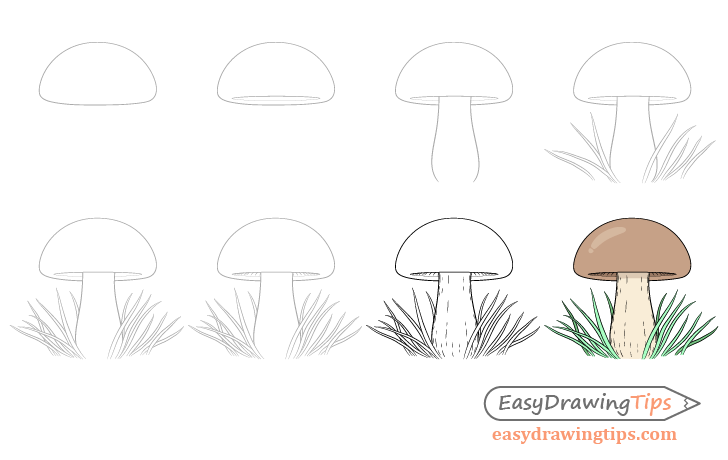
You can see the included steps in the preview image above. Overall the tutorial is quite easy with just enough detail to create a nice looking drawing.
It’s recommended that you start in pencil and make light lines that you can easily erase as you will need to do so in some of the steps. You can darken them once you have everything outlined.
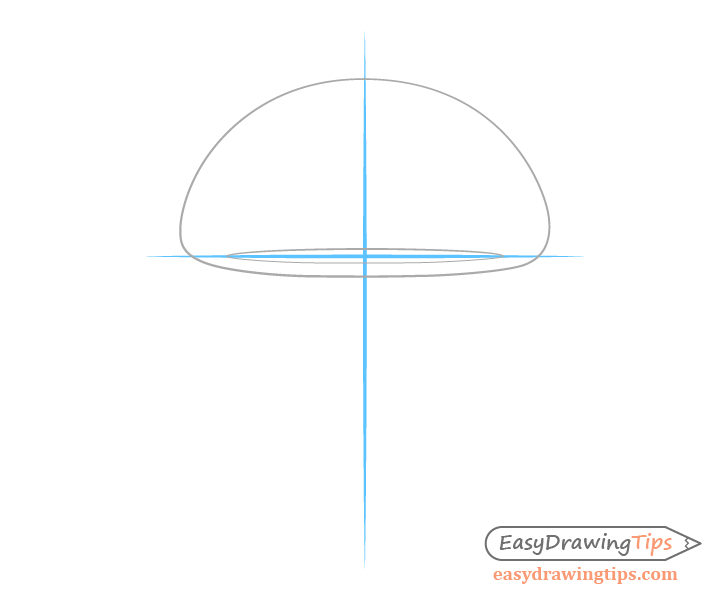
Step 1 – Outline the Mushroom Cap
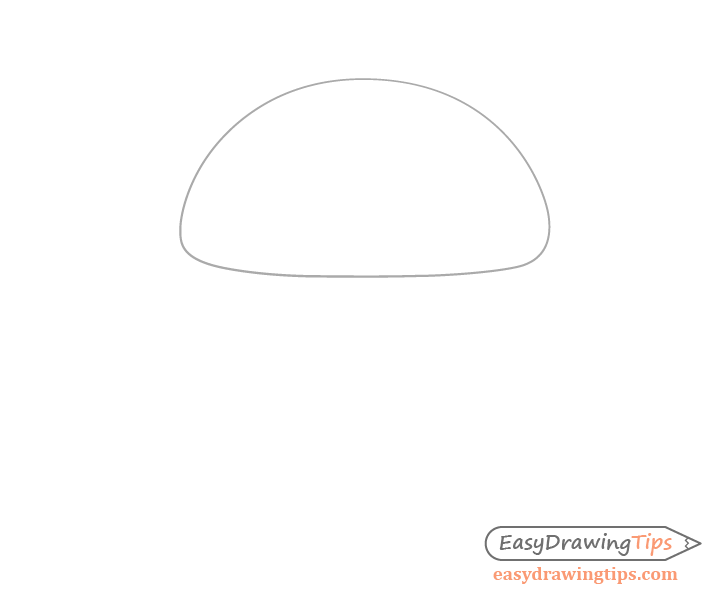
Begin with an outline of the of the mushroom cap. Give it a rounded top and just a slightly rounded bottom.
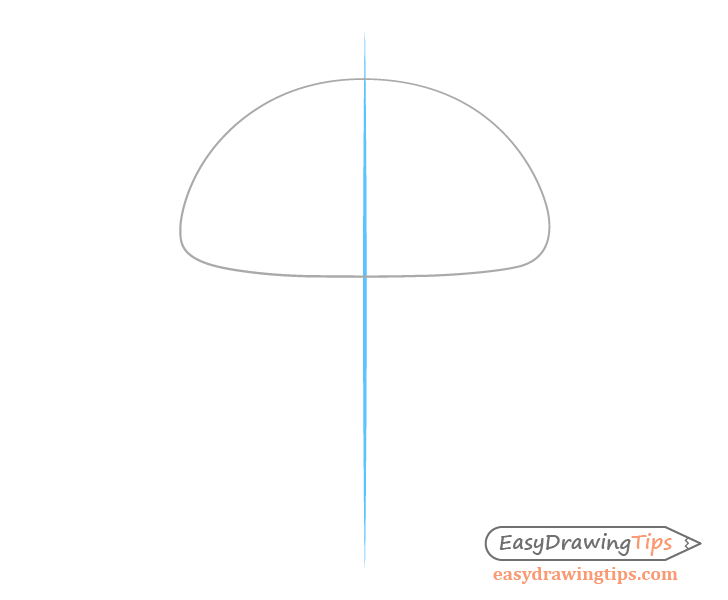
As the mushroom will be fairly symmetrical (but not perfectly so) you can optionally draw a straight vertical line to help you see if both halves of the mushroom will be close in width/shape.
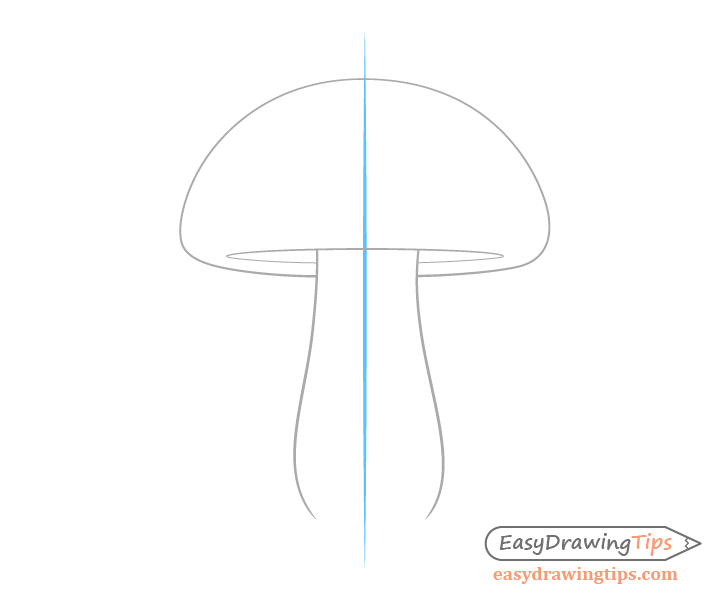
Step 2 – Draw the Bottom of the Cap
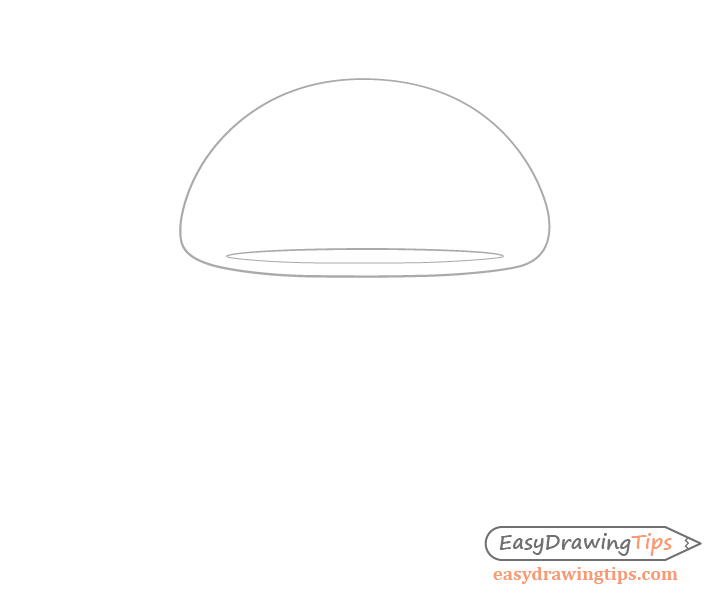
In this case the “eye” level” will be slightly underneath the cap so it’s bottom will be visible. Viewed at this angle the bottom will appear as a very narrower oval. Draw it as shown in the example.
For more on “eye level” see the following tutorial:
Perspective Drawing Tutorial for Beginners
You can once again draw a guide line, this time a horizontal one to help you add this part of the mushroom. You can then erase it once done.
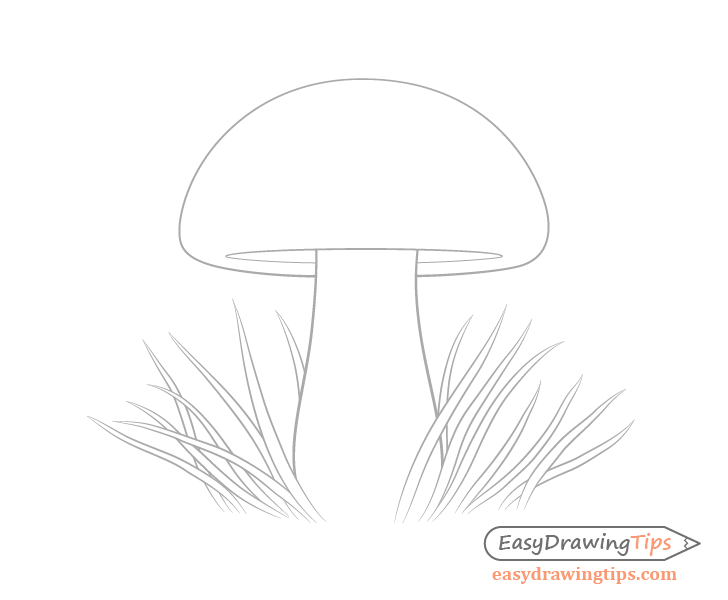
Step 3 – Draw the Stem
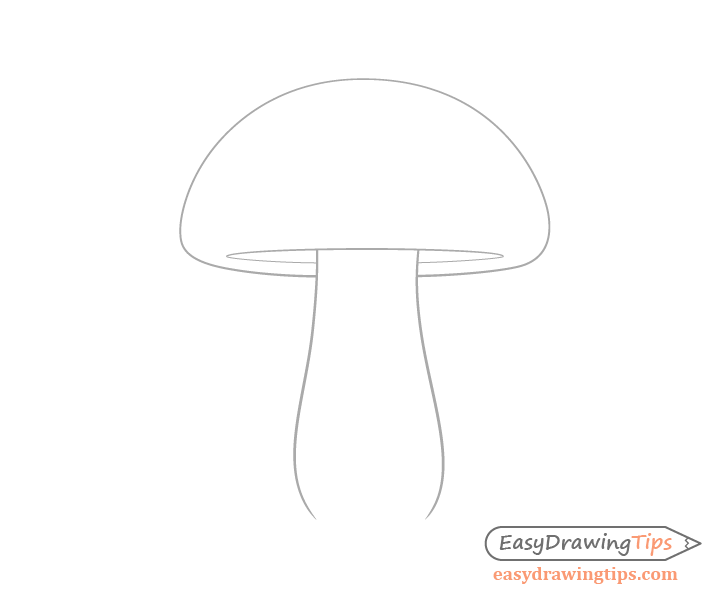
Erase a little bit of the cap/oval’s outline an draw in the mushroom stem. You can define it with just a pair of wavy lines. Make the stem wider towards it’s lower half and then narrower again at the very bottom.
If you’ve drawn the center line in step one you can again use it to help you. In this case the the right side of the stem will deliberately be made a tiny bit wider than the left to make the drawing look more natural. You can erase the center line after you’ve added this part of the mushroom.
Step 4 – Draw the Foreground Grass
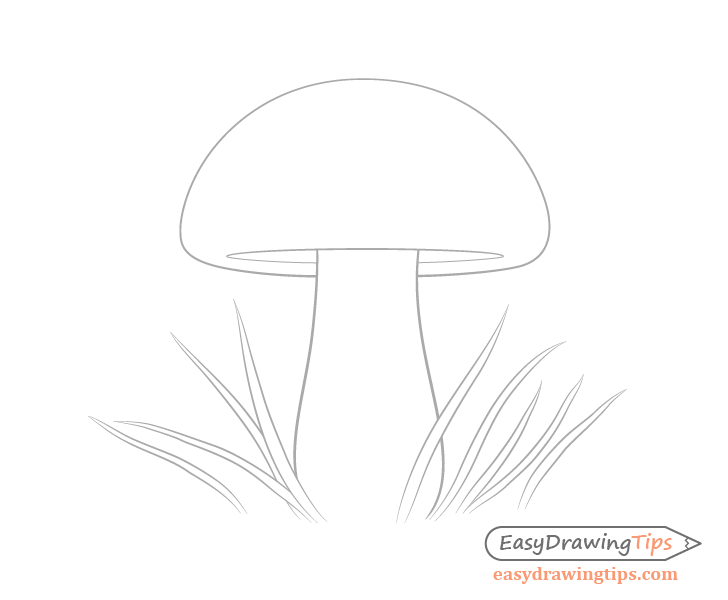
To make things a little more interesting add some blades of grass around the mushroom. Start by placing some in front of it and to the sides.
Try and make each one slightly different in shape so that the drawing looks more “organic”. Also try and draw the grass in a way where it “fans out” as it goes up.
For drawing other types of plants see:
Draw a Cactus in a Plant Pot Step by Step
Step 5 – Draw the Background Grass
Add some more blades of grass in between and behind the previous set.
For a nicer looking drawing try distribute the grass fairly evenly on both sides but at the same time try and not make it look too symmetrical. Give each blade a slightly different shape and length.
Step 6 – Draw the Spores
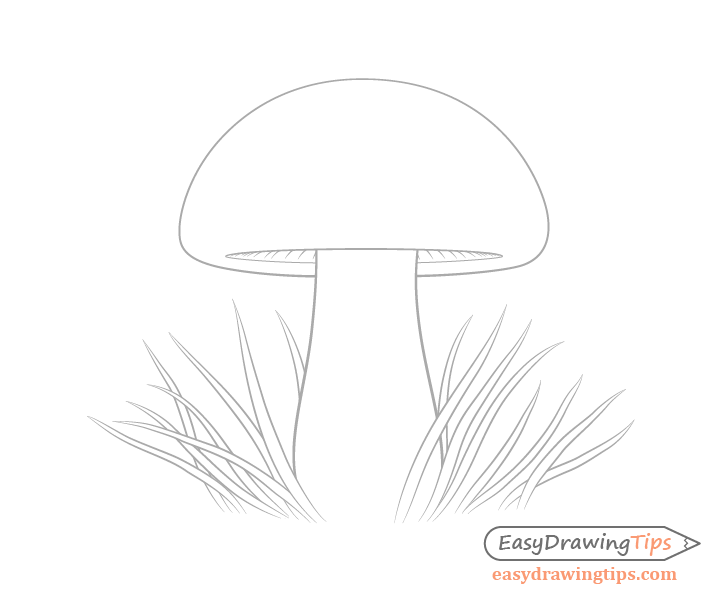
Add a hint of spores to the inner/bottom part o the mushroom cap. Draw these pointing more downwards near the center and more towards the sides as they move away form it. Also try and keep the spacing between them somewhat random but generally draw them farther apart near the middle and closer together near the sides. This will help show the curvature of the cap.
Step 7 – Add the Stem Details & Finish the Line Drawing
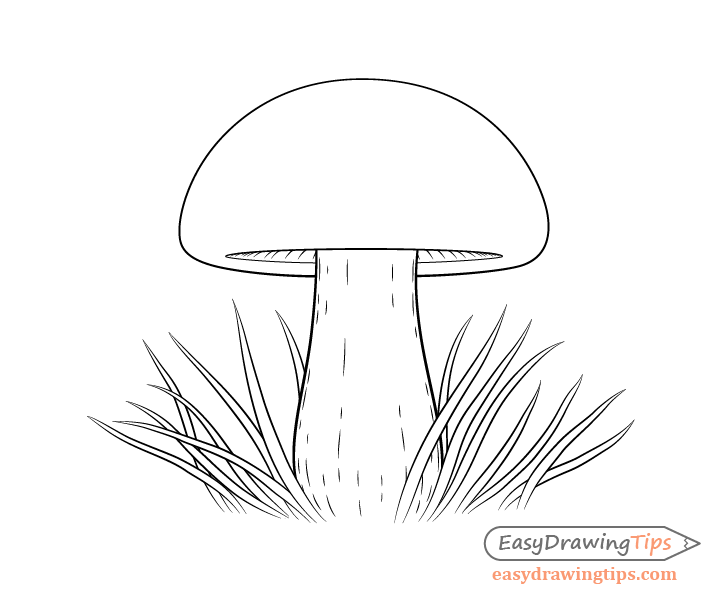
Give the stem some texture by drawing a few broken up lines running along it’s shape. Similar to the spores place these farther apart near the center and closer together near the sides. This will once again help show the curvature of the mushroom’s shape.
Step 8 – Color the Mushroom
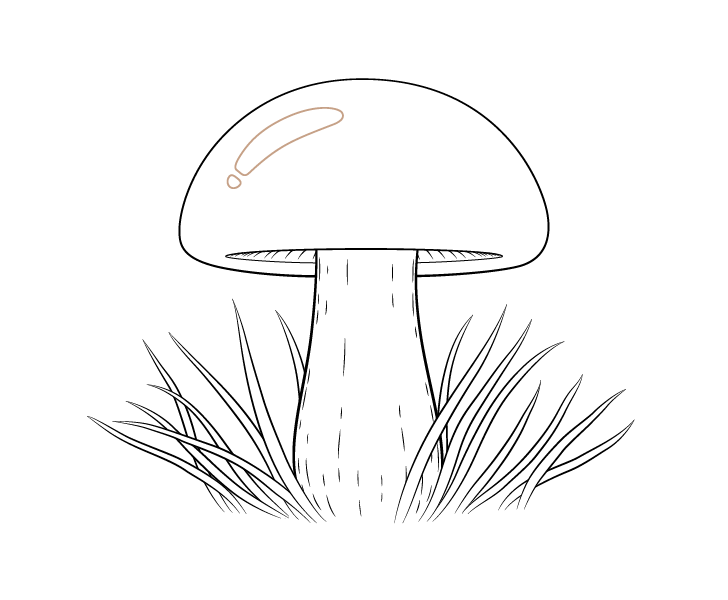
For this last step you can give the mushroom some very basic color and shading. However, before coloring outline a little highlight along the side of it’s cap as shown in the example above. You can either do this in the same color that you will use for the cap or lightly in regular pencil.
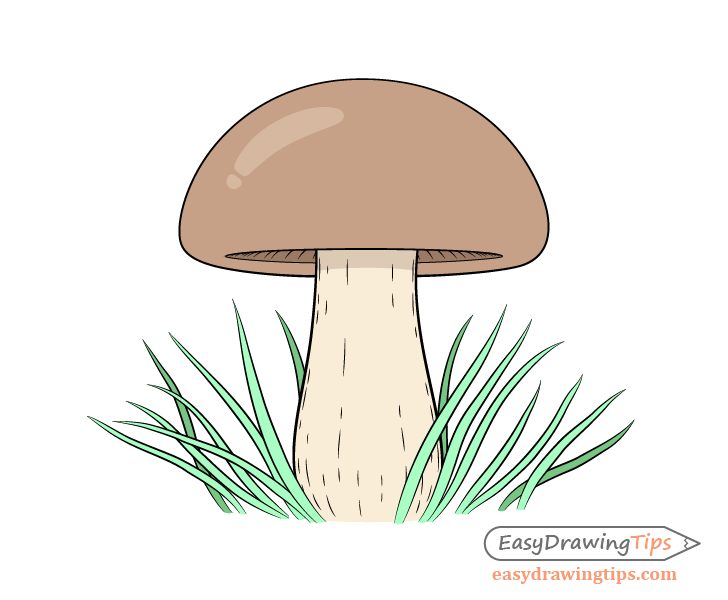
In this case the cap will be brown with a darker brown for it’s inner bottom. You can at first leave the highlight white and then go over it with a lighter brown.
Make the stem a light yellow/brown with a little shadow on it’s upper part (cast by the mushroom cap). Use a lighter and a darker green for the grass. You can generally make the blades more in the background darker and the ones in the foreground lighter.
Conclusion
This simple tutorial shows how you can create a very nice looking drawing (in this case of a mushroom) without complex details or shading using only and by using only a few colors. This type of a tutorial can be particularly good if you are a beginner as it can help you make a drawing that is not overly stylized but also not too difficult to create.
Hopefully you’ve founded the detailed step by step breakdown helpful.
For more similar tutorials also see the following:
- How to Draw a Pizza Slice in 6 Steps
- How to Draw a Carrot Step by Step
- How to Draw a Strawberry Step by Step
- How to Draw a Milk Carton Step by Step
- How to Draw a Shopping Bag Step by Step


